
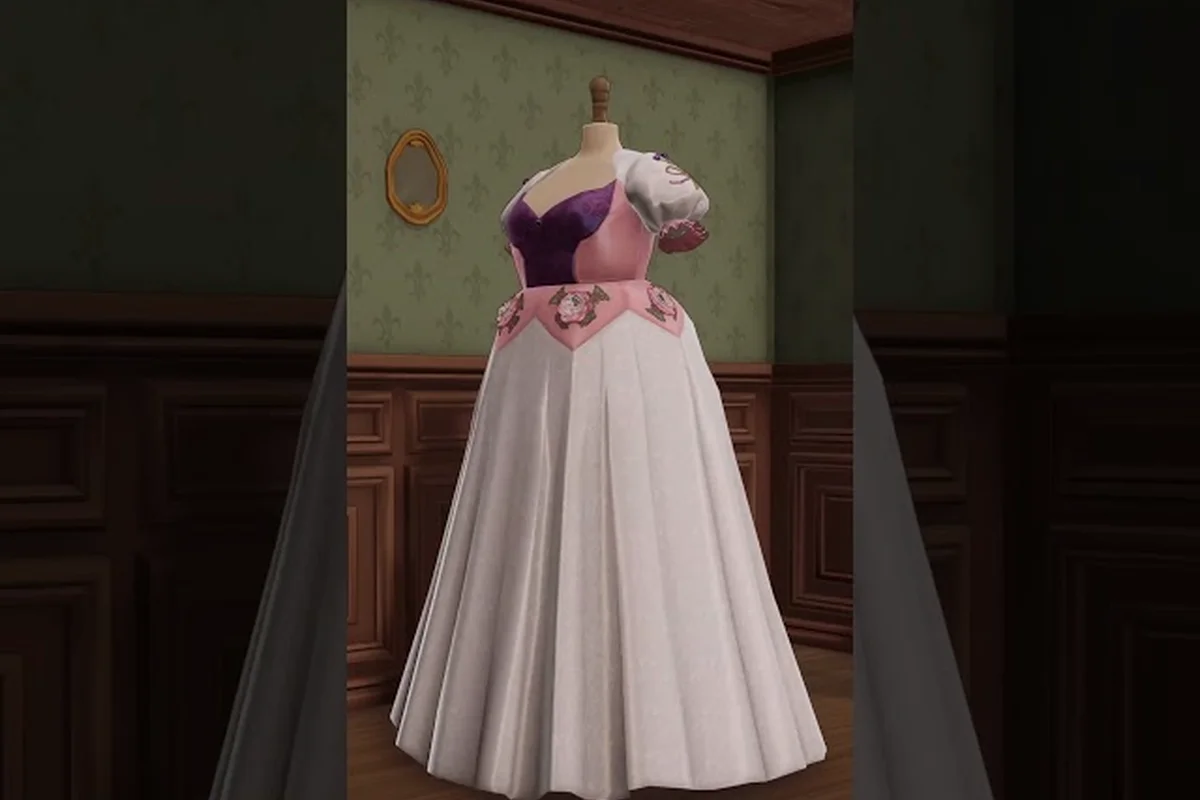
A jagged hem or a bodice that refuses to sit flat on the mannequin almost always traces back to a single cause: the cut drifted off the pattern. Once the scissors slip outside the sketched line, every downstream step — pinning, sewing, fitting, and even the final shop-window display — pays the price. According to the official Dressmaker Steam page, the core making loop moves from sketchbook to paper pattern, then through cutting and the sewing machine, which means cutting is the only stage that physically destroys material when you miss a line. This guide on Dressmaker cutting accuracy tips breaks down the grid, charts, layering, and piece-handling habits that keep every snip true to the original sketch.
Dressmaker Pattern Grid Guide and Why It Anchors Every Cut
The grid underneath the pattern is not decorative — it is your alignment safety net. A consistent square grid lets you read any piece's dimensions in whole units, snap corners to a fixed reference, and recover quickly when a piece nudges off-center. For accuracy work in Dressmaker, treating the grid as the primary coordinate system turns fuzzy visual matching into a measurable operation.
Reading Grid Cells as Coordinate Anchors
Every Dressmaker pattern piece lives inside a grid of evenly sized squares, and each square carries a fixed unit of measurement. The standard visible grid in early commissions uses 1 cm squares, while the finer grid that appears on bodice and sleeve blocks drops to 5 mm increments. Once you know which grid is loaded, you can read any edge as a coordinate pair rather than a guess.
When a pattern piece says "drop 4 cm from the shoulder anchor," the grid lets you count 4 full cells from the marked shoulder dot. The same rule applies for lengthening a hem: count cells down from the waist anchor, then mark a new corner before cutting. Players who internalize this counting habit report far fewer off-pattern cuts because the brain stops estimating and starts measuring.
Snapping the Pattern to Grid Intersections
Grid intersections are the most reliable landmarks in the workspace. They never move, and they never depend on the zoom level. The strongest Dressmaker cutting accuracy tips all start with the same move: drag each pattern piece so that at least two of its anchor dots sit exactly on visible grid intersections. A piece locked to two corners is far harder to accidentally rotate or skew during cutting.
This is also the simplest fix for pieces that look "almost right but slightly off" once placed on the fabric. Nudge the entire piece by one cell at a time until both anchor dots land on intersections, then verify with the in-game alignment highlight. The Dressmaker pattern guide walks through the same anchoring habit at a slower pace for first-time players who want extra reps before tackling commissions.
| Grid Size | Visible Square | Best Use Case | Risk If Misread |
|---|---|---|---|
| 1 cm | Large, easy to count | Skirts, A-line dresses, layouts | Cuts slightly long if you miscount by one cell |
| 5 mm | Tight, requires zoom | Bodices, sleeves, collars | Off by 2-3 cells if you skip the zoom check |
| 1 cm + 5 mm overlay | Both visible at once | Layered bridal and royal commissions | Crowded view; lock layer opacity first |
Dressmaker Measurement Chart and the Body Inputs Behind It
A clean cut is only as good as the numbers behind the pattern. The Dressmaker measurement chart translates your customer or mannequin body inputs into the specific panel widths, lengths, and curve depths the pattern pieces will display. Skipping the chart or eyeballing the inputs is the fastest way to produce a piece that sews together but fits poorly.
According to the official Dressmaker store page, precise measurement and consistent scissor control are emphasized as the foundation of accurate fabric cutting, since even a small deviation at the start can throw off the alignment of every subsequent panel, force a full re-cut of the piece, and waste fabric that could have covered a later commission.
Dressmaker Body Measurements Guide: Inputs That Actually Move the Pattern
Not every measurement on the chart has equal impact, and a few inputs control far more of the final cut than new players expect. A good rule of thumb is to verify the four "high-leverage" numbers first, then refresh the rest before each commission. Community testing on the Steam discussions thread "Measurements" shows that players who re-enter only these four between sessions see noticeably cleaner results than those who trust the default values.
The four high-leverage measurements to recheck before every cut are listed below, because these are the inputs that move the most pattern geometry when they shift; confirm each one against the current customer, then refresh the remaining chart values before you commit the scissors:
-
Bust — sets the widest point of the front and back bodice panels
-
Waist — controls the taper on bodice and the waistband of full skirts
-
Hip — defines the flare on A-line, circle, and pleated skirts
-
Back length — sets the vertical drop from the nape to the natural waist
Two secondary inputs, shoulder width and sleeve length, mainly affect sleeve caps and armhole curves, but a 0.5 cm drift there will make a sleeve refuse to set into the armhole cleanly. The Dressmaker bodice pattern article pairs these inputs with the panel edits that depend on them.
| Measurement | Where It Appears on the Pattern | Sensitivity to a 0.5 cm Error |
|---|---|---|
| Bust | Front + back bodice side seams | High — visible fit change |
| Waist | Bodice darts, waistband | High — puckers at the seam |
| Hip | Skirt flare, hip yoke | Medium — fit shifts at hem |
| Back length | Bodice center-back line | Medium — neckline drops |
| Shoulder width | Sleeve cap, armhole curve | High — sleeve set-in fails |
| Sleeve length | Sleeve vertical edge | Low — easy to trim later |
Translating Chart Numbers into Visible Markers
After the chart updates, look for the small dot or notch indicators that appear on each pattern piece — these are the visual translation of your body inputs. The dots are not optional. They are the only way the cut preview knows where to stop and where to curve, and removing them (or covering them with another pattern piece) is the most common cause of "the cut finished but the piece is wrong" reports from new players.
A clean workflow reads the chart, watches the dot positions update, and only then drags the piece onto the fabric. If the dots do not move after you change an input, the chart has not refreshed — close and reopen the panel, then re-drag. According to the official Free Lives press kit, the dressmaking flow in Dressmaker is designed to mirror real-world tailoring, which is why these chart-to-dot translations are deliberately explicit rather than hidden.
Dressmaker Pattern Layering When the Cut Gets Crowded
Layering is the moment cutting accuracy either holds or collapses. Once a bodice, sleeve, and collar all share the same fabric panel, the piece that arrives first sets the reference frame for everything on top of it. Without a deliberate order, the top pieces tend to drift in the direction of your last mouse movement, and the bottom piece ends up half-buried.
The Recommended Layer Order for Accurate Cuts
A consistent stacking order is the single biggest upgrade you can make to layering accuracy. The community-tested rule is simple: largest flat piece first, smallest curved piece last. The large flat piece acts as the visual anchor, and the smaller curved pieces get their alignment checked against the flat panel rather than against free space.
-
Layer 1 (bottom): Skirt or pant panels — biggest footprint, most cells of fabric
-
Layer 2: Bodice front and back — smaller footprint, more curves
-
Layer 3: Sleeves — narrow footprint, deepest curves
-
Layer 4 (top): Collars, cuffs, facings — smallest footprint, most detail
If you reverse this order, the large piece on top will visually dominate and push the smaller pieces slightly out of alignment during the cut. Players who have published early-game tips on Steam, including the "Things I've Learned" guide by Seerolz, repeatedly emphasize locking the base layer first and only adding new pieces after the base is confirmed on a grid intersection.
How Pattern Pieces Explained Become Pattern Pieces Handled
Dressmaker pattern pieces explained as "anchor + grid + curve" become much easier to handle once you start thinking of each piece as a small data object rather than a free-floating shape. Every piece carries three properties that matter for layering: its anchor dot (the snap target), its grain arrow (direction marker), and its layer index (stacking order). Tracking these three explicitly is what separates players who finish a layered cut in one pass from those who redo the same cut three times.
| Layer Index | Typical Piece | Anchor Behavior | Grain Behavior |
|---|---|---|---|
| 1 (bottom) | Skirt panels | Snap to grid intersection first | Grain arrow parallel to fabric edge |
| 2 | Bodice front/back | Snap to matching dot on layer 1 | Grain arrow parallel to bodice fold |
| 3 | Sleeves | Snap to armhole notch on layer 2 | Grain arrow follows sleeve cap |
| 4 (top) | Collars, facings | Snap to neckline notch on layer 2 | Grain arrow parallel to collar fold |
The grain arrow deserves a separate mention. If the grain arrow on a top-layer piece points perpendicular to the arrow on the layer beneath it, the cut will still execute, but the final garment will hang unevenly. Always align top-layer grain arrows with the layer below before locking the cut, even if the visual match looks "close enough."
Dressmaker Cutting Accuracy Tips in Practice: A Five-Step Workflow
Habits are easier to follow when they live in a fixed order. The workflow below turns every Dressmaker cutting accuracy tip from a vague principle into a repeatable sequence you can run before any cut, on any commission, for any customer.
-
Refresh the measurement chart first. Open the chart, re-enter the four high-leverage numbers (bust, waist, hip, back length), and confirm the dots on each piece have moved. If the dots do not move, the chart is stale.
-
Lock the largest piece to grid intersections. Drop the bottom-layer piece onto the fabric, then drag it so two of its anchor dots sit on visible grid intersections. Verify the grain arrow before locking.
-
Layer upward in the recommended order. Add each subsequent piece so its anchor dot snaps to a notch on the layer below. Never stack a smaller curved piece under a larger flat one.
-
Pre-flight the cut preview. Watch the preview line travel the full piece boundary. If the line hovers above the fabric, the layer above is occluding the cut. Hide layers one at a time until the preview reads cleanly.
-
Commit the cut in a single pass. Once the pre-flight is clean, run the cut from one corner to the opposite corner without pausing. Pausing mid-cut on a curved piece is a common source of small steps at the seam edge.
The pre-flight step is the one most often skipped, and it is the one that saves the most fabric. Players on the Steam discussions board have repeatedly asked for a toggle to make the preview more visible, which the developer Free Lives has not yet shipped, so the workaround today is to hide the top layers and re-check the bottom layers manually. The Dressmaker scissors tool breakdown goes deeper into the cut-pre-commit checks if you want a more detailed reference.
Quick Diagnostic Table for Common Cut Mistakes
When something goes wrong, the fastest recovery is to identify the symptom, then trace it back to the step that was skipped. This table maps the most common cut problems to their root cause and the corrective action, so you can repair the pattern in one pass instead of re-measuring the customer from scratch.
| Symptom | Likely Root Cause | Corrective Action |
|---|---|---|
| Hem sits 1-2 cm short | Skirt layer placed 1 cell too high | Nudge skirt layer down by exactly 1 cell |
| Sleeve will not set into armhole | Shoulder width input not refreshed | Re-enter shoulder width, redraw sleeve cap |
| Bodice puckers at the waist | Waist input is stale by 0.5 cm | Re-enter waist, check dart width updates |
| Cut finishes but piece is wrong | Top layer occluded a notch on bottom layer | Hide top layer, re-verify bottom anchor dots |
| Grain hangs unevenly on the mannequin | Grain arrows misaligned across layers | Realign top-layer grain arrow with the layer below |
Common Pitfalls and How Dressmaker Cutting Accuracy Tips Fix Them
Most cutting errors fall into a handful of repeatable patterns, and once you can name the pattern, the fix is usually one step away. The pitfalls below are reported by players in the Steam community discussions and verified against the dressmaking flow described on the official store page.
-
Pitfall: trusting the default body measurements. The first time you open Dressmaker, the chart loads with default values that almost never match the mannequin. Always re-enter your four high-leverage numbers before the first cut.
-
Pitfall: cutting before the chart refresh. If the anchor dots on a piece have not visibly moved after you changed a measurement, the cut will use the old geometry. Close the panel, reopen it, and re-drag the piece.
-
Pitfall: stacking small pieces under large ones. Reversed stacking order is the most common cause of "the cut looks fine but the sleeves are missing a corner." Always stack largest flat piece at the bottom.
-
Pitfall: ignoring the grain arrow. A misaligned grain arrow will not stop the cut, but it will produce a garment that hangs crooked on the mannequin and disappoints the customer.
-
Pitfall: pausing mid-cut on a curve. A paused cut on a curved edge tends to leave a small step at the resume point. Commit the cut in one continuous motion whenever the piece has a deep curve.
For a deeper look at how the mannequin preview and the cut connect, the Dressmaker pattern layout guide is a useful companion read, especially the sections on customer requests and how a clean cut influences the satisfaction score, the tip tier granted at hand-off, and the coin total the customer agrees to pay.
Dressmaker Pattern Pieces Explained Through Their Visual Cues
Every pattern piece in Dressmaker carries a small set of visual cues that tell you how it wants to be handled. Once you can read these cues, you stop relying on memory and start relying on what the piece itself is showing you. The four cues that matter most are the anchor dot, the grain arrow, the notch marks, and the layer index color band.
The anchor dot is the small filled circle on the piece. It is the snap target and the reference point for any re-positioning. The grain arrow is the short straight line that points along the piece's intended fabric direction. The notch marks are the small triangles or ticks that indicate where the piece should meet a neighboring piece. The layer index color band is a thin colored strip along the edge that tells you which stacking slot the piece belongs in.
| Visual Cue | Where to Find It | What It Tells You |
|---|---|---|
| Anchor dot | One per piece, often at a corner | Snap target for grid alignment |
| Grain arrow | Centered along the longest edge | Direction the piece must run on the fabric |
| Notch marks | Along seam edges | Where to match this piece to a neighbor |
| Layer index color band | Along the outermost edge | Which stacking slot the piece belongs in |
Players who have internalized these four cues report a meaningful reduction in cut errors, because the cues make the right action visible before the wrong action can happen. The Dressmaker how to arrange pattern pieces reference covers the cue-reading habit in more detail, with examples for skirt, bodice, and sleeve blocks.
Frequently Asked Questions
What are the most important Dressmaker cutting accuracy tips for a new player?
Lock each pattern piece to two grid intersections before cutting, re-enter the four high-leverage body measurements (bust, waist, hip, back length) before every commission, and stack pieces largest flat first, smallest curved last. These three habits prevent the majority of first-week cut errors reported on the Steam community guides.
How does the Dressmaker pattern grid guide help with curved pieces?
The grid gives curved pieces a fixed reference frame so you can verify their anchor dots and notch marks against whole cells rather than visual estimates. On the finer 5 mm grid used for bodice and sleeve blocks, the extra precision is what keeps deep curves from drifting off-pattern during the cut.
Where do I find the Dressmaker body measurements guide inside the game?
Open the sketchbook, select the customer or mannequin, then tap the measurement chart icon at the top of the panel. The chart lists every body input that affects the pattern, and the four high-leverage numbers (bust, waist, hip, back length) appear at the top of the list so they are easy to refresh between commissions.
Can Dressmaker pattern layering cause cuts to overlap incorrectly?
Yes, if you place a smaller curved piece under a larger flat one, the bottom piece can be partially covered, which leads to the cut preview reading an incomplete boundary. Always stack largest flat piece at the bottom and smallest curved piece at the top, and use the pre-flight cut preview to confirm every layer is visible before committing.
How do Dressmaker pattern pieces explained visually help with cut accuracy?
The visual cues (anchor dot, grain arrow, notch marks, layer index color band) make the correct alignment visible before the wrong alignment can happen. Reading these cues before each cut turns the workspace into a self-checking system and removes the need to memorize layout rules for every piece type.