
Patterns
Master the pattern stage in Dressmaker: mark grain, arrange pieces, cut the highlighted line, and preview on the mannequin before the sewing machine starts.
Introduction
The patterns category covers the technical spine of Dressmaker's dressmaking loop - everything between an idea in the sketchbook and thread hitting cloth. Once a design is sketched, you place pattern pieces on fabric, align the grain, and cut along the line the game highlights. Those choices decide how the finished panels fall when you drape them on the mannequin, long before decoration or delivery enter the picture. Because cutting cannot be casually undone, the pattern stage is where careful players save cloth, time, and reputation. Our notes treat grain line, bias cutting, layout economy, and mannequin fitting as four linked skills rather than isolated tricks. Straight grain keeps weave alignment predictable; bias cut trades that stability for a different, often more fluid fall. Layout economy decides how many usable pieces you get from finite cloth, and the mannequin preview is the cheap checkpoint that confirms the cut before sewing begins. Whether you are pacing a first commission after Edith or refining later orders, treat patterns as the difference between a dress that merely assembles and a dress that actually hangs.
Pattern Stage Step by Step
| Step | What You Do | Why It Matters | Checkpoint |
|---|---|---|---|
| S Mark Grain | Set grain line on each pattern piece | Decides how the woven cloth will fall | Grain marks parallel to intended drape |
| A Arrange Pieces | Place pattern pieces for layout economy | Cuts waste on finite fabric stock | No overlapping edges or orphan gaps |
| A Cut | Cut along the highlighted active line | Clean panels prevent later fit problems | Line highlighted; direction matches plan |
| B Preview | Drape panels on the mannequin before sewing | Catches drape errors while fixes are cheap | Seams and hem read correctly pre-sew |
Pattern Skills
Grain Line
The foundational skill of pattern work: orienting each piece so the weave supports the silhouette you sketched, decided before layout, cutting, or any sewing machine work begins at all.
Bias Cutting
Off-grain cutting that changes how the finished dress falls, highlighted by the game's active cut line and best previewed on the mannequin before any seam is sewn shut for delivery.
Layout Economy
Arranging pattern pieces to respect finite cloth without crowding edges, so premium fabric stretches across the commissions that need it most without risking nicked panels later during sewing.
Mannequin Fitting
The pre-sew checkpoint where cut panels are judged on the real silhouette, catching grain and layout mistakes while fixes are still cheap and delivery reputation remains completely untouched so far.
Core Mechanics
Pattern work in Dressmaker is a four-move chain with immediate feedback. Marking grain sets the orientation of each pattern piece relative to the fabric's weave: keep pieces on the straight grain for predictable fall, or rotate onto the bias when you want a different drape in the finished dress. Arranging pieces is spatial puzzle-solving inside the fabric bounds - the tighter your layout economy, the less cloth each commission consumes. Cutting follows the active cut line the game highlights on screen; matching that line to your grain plan is the moment commitment becomes visible. After cutting, the mannequin preview renders the panels as they will actually hang, so straight-grain and bias results can be compared on the real silhouette before any seam is sewn. If the fall is wrong, you return to arrangement or grain rather than pushing into the machine stage. Successful cuts then flow into sewing, decoration with appliqué or lace trim, and delivery - the downstream stages only ever inherit the quality of the pattern decisions made here.
Advantages
Strong pattern habits pay off across the whole game. Layout economy stretches fabric, which matters when premium cloth like silk or velvet is earmarked for a formal commission and mistakes feel costly. Correct grain alignment produces panels that hang as intended, so the mannequin preview confirms rather than surprises, and you enter the sewing machine stage with confidence instead of doubt. Bias cutting, used deliberately, opens silhouette options that straight grain alone cannot reach - useful when a customer brief asks for fluid movement or a softer fall. Because the game highlights the active cut line, the pattern stage also teaches through visibility: you see cause and effect between alignment choices and finished drape within a single dress cycle. Those lessons compound into reputation, since well-cut dresses reach delivery in better shape and match occasion taste more cleanly. The stage is also platform-neutral; Windows and macOS players following the same step sequence get the same feedback, including under mouse-only controls.
Challenges
The pattern stage concentrates risk. Cutting is hard to walk back, so a rushed decision on grain or piece placement can waste fabric outright and stall the commission that stock was bought for. Bias cutting is expressive but unforgiving: rotated grain changes drape in ways that look elegant on the mannequin yet fight certain silhouettes, and beginners often blame the sewing machine for what the cut caused. Layout squeeze creates its own trap - chasing zero waste can crowd pieces until edges nick each other, producing panels that almost fit. The mannequin preview helps only if you actually use it; skipping straight to sewing removes your cheapest checkpoint. Decoration pressure compounds this: players rushing to add appliqué or lace trim sometimes sew before the fall is right, then discover the mismatch at delivery when reputation is already on the line. Community-reported interactions between off-the-rack sales and pending commissions can also interrupt practice mid-project. And with no code system to reset progress, every botched cut is learned the slow way.
Frequently Asked Questions
What is the difference between straight grain and a bias cut?+
Why does my dress hang wrong even though my seams look neat?+
Should I always minimise fabric waste in the layout?+
Quick Tips
Decide grain intent before you place a single piece. Look at the sketchbook silhouette and ask whether the dress should fall stable or fluid, then mark every pattern piece with that answer already fixed in mind. Changing grain mid-layout forces awkward rotations and cramped arrangements, so settling the question first keeps the whole cutting phase coherent.
Treat the mannequin preview as a save point. After cutting, drape the panels and rotate the form: check that the hem sits level, seams face the right direction, and the fall matches whether you cut straight or on the bias. If anything reads off, fix it now - corrections at this stage cost attention, while the same error discovered after sewing costs a full remake.
Practice bias cutting on a low-stakes commission before you rely on it for formal orders. The rotated drape can elevate silk and velvet pieces beautifully, but it behaves differently from straight grain, and learning its quirks on an everyday brief protects the reputation you would otherwise risk while experimenting under a demanding customer's occasion rules.
Featured
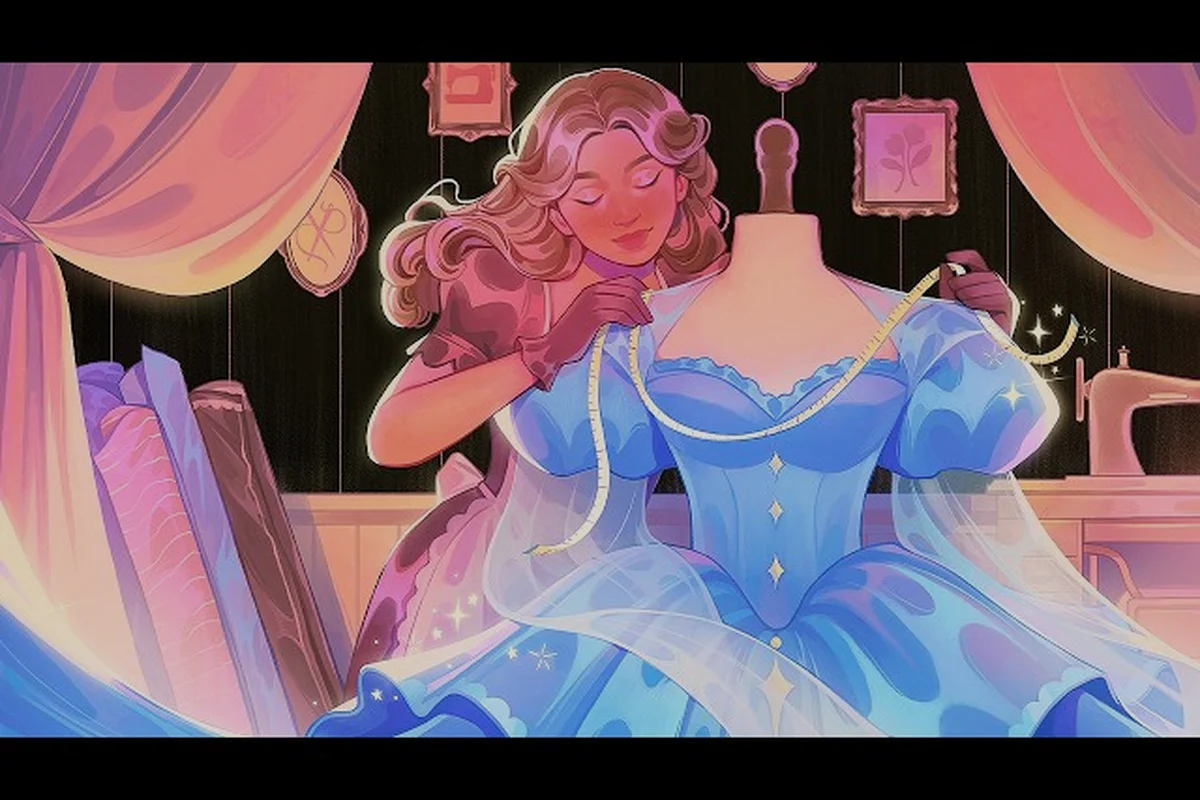
Dressmaker Pattern Guide: Cut, Align Grain & Place Pieces
Learn the Dressmaker pattern guide essentials — read grain lines, align bias cuts, and arrange pieces on fabric for clean, waste-free layouts every time.
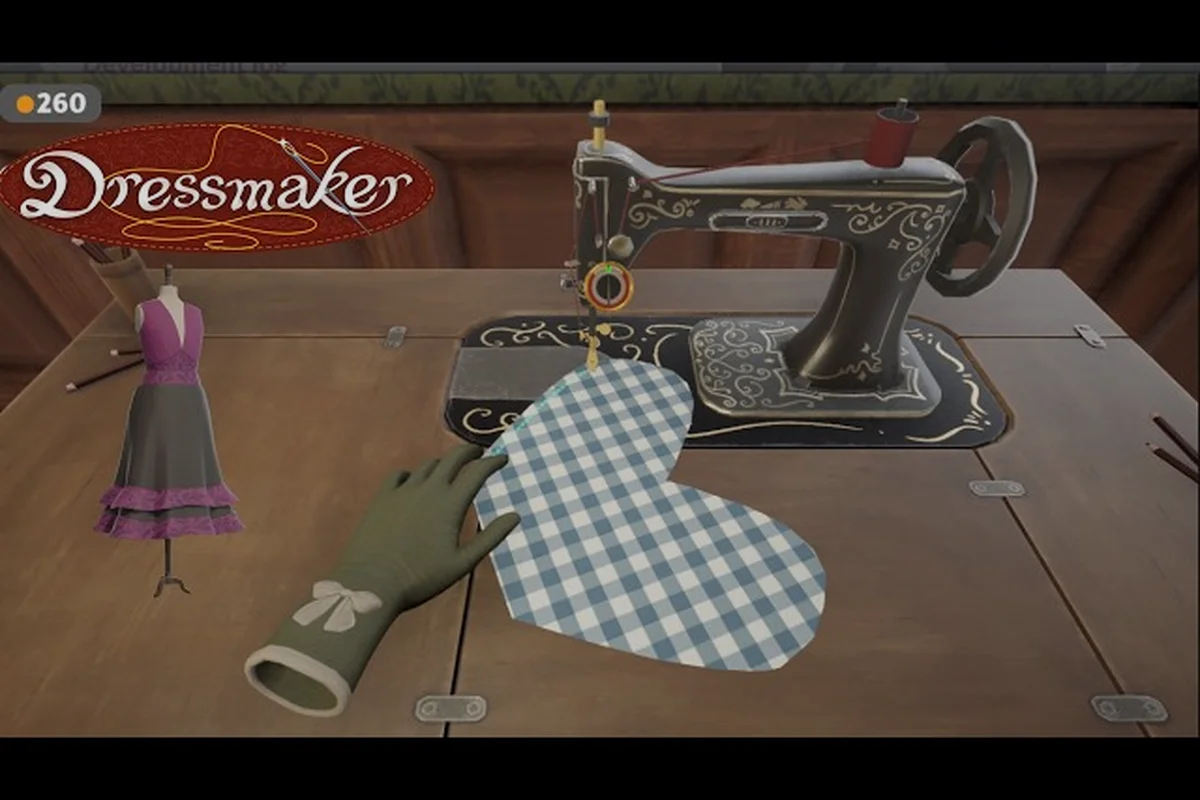
Dressmaker Scissors Tool: Cutting, Seam Allowance & Darts
Get cleaner cuts with the Dressmaker scissors tool — learn rotary cutter versus scissor use, set seam allowance, shape darts, and finish pleats, gathers, and hems.
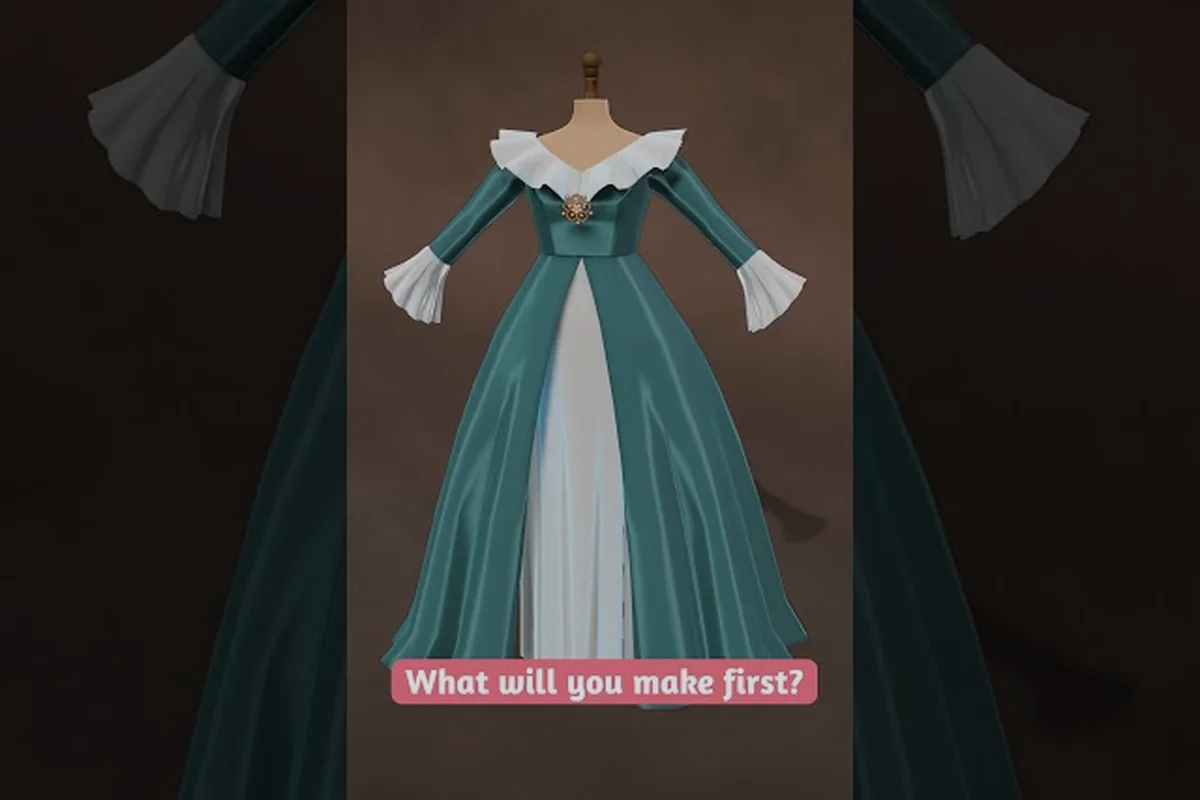
Dressmaker Bodice Pattern: Sleeves, Skirts & Layout Basics
Build a perfect fit with the Dressmaker bodice pattern — understand sleeve and skirt pieces, place them on fabric, and use the cutting mat for accurate dress builds.
All Articles
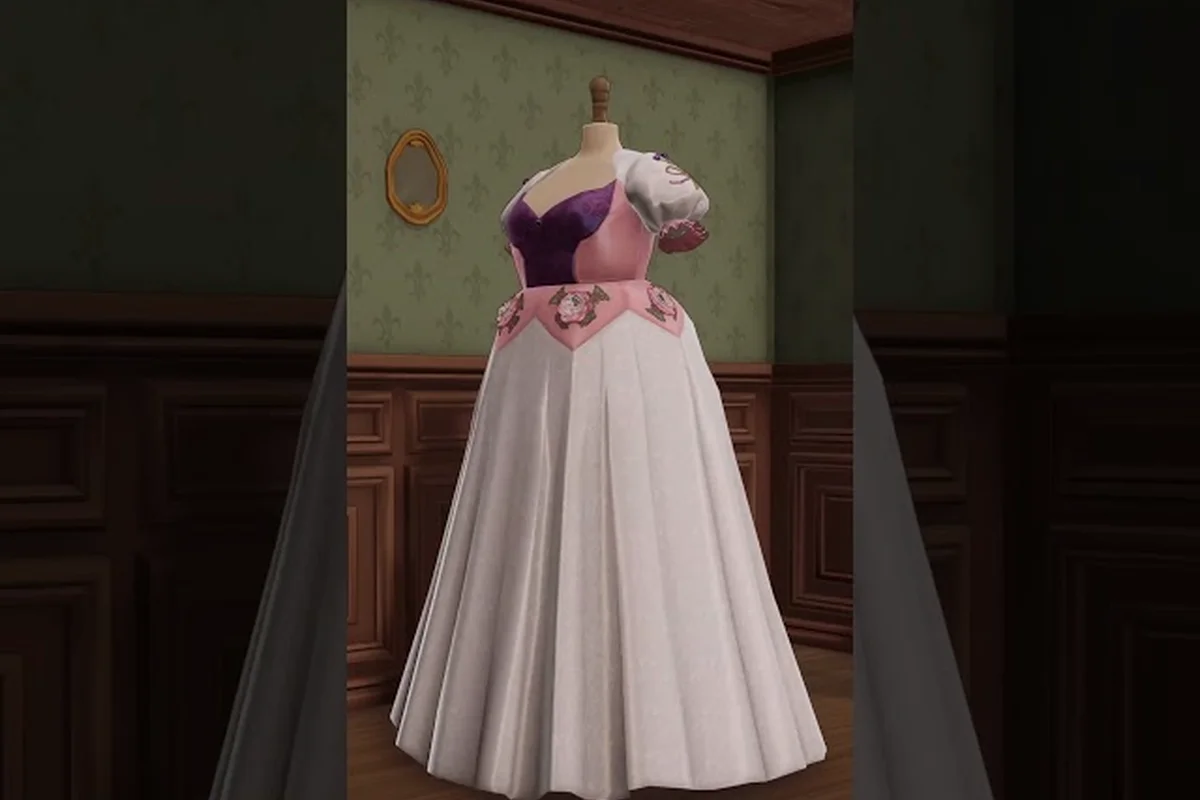
Dressmaker Cutting Accuracy Tips: Grid, Charts & Clean Edges
Sharpen your Dressmaker cutting accuracy with grid alignment, body measurement charts, and pattern layering tricks that keep every cut true to the sketch.
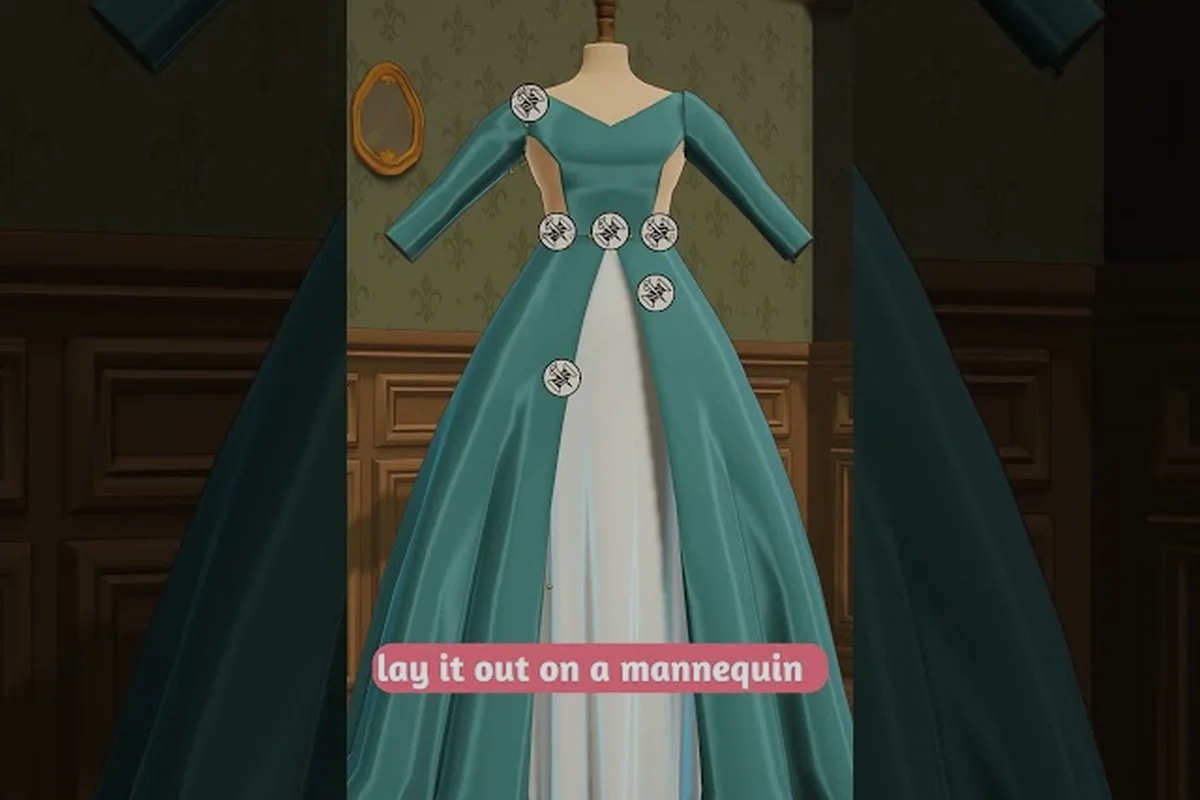
Dressmaker Fitting Issues: Fix Bad Fits, Rotate & Resize Patterns
Solve common Dressmaker fitting issues with pattern rotation, resizing tricks, and smart mannequin adjustments so every commission drapes the way it should.
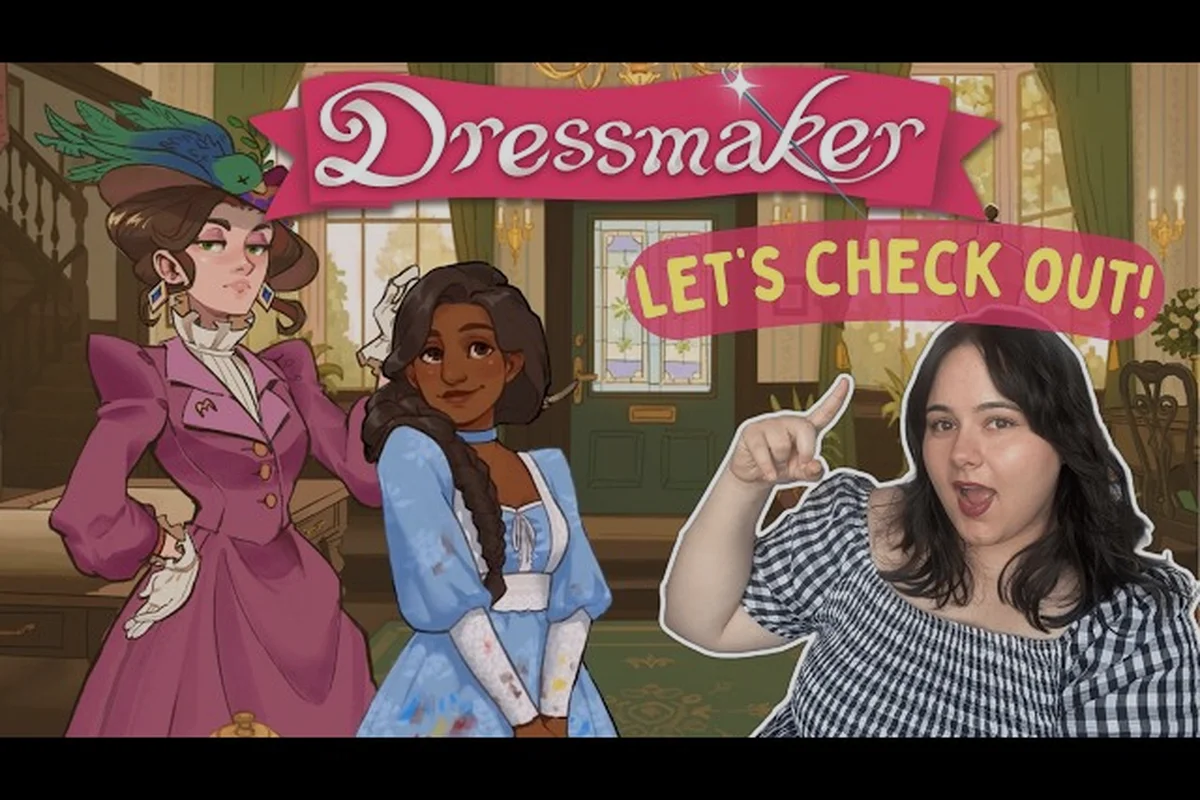
Dressmaker How to Arrange Pattern Pieces: Save Fabric & Cut Clean
Master the dressmaker how to arrange pattern pieces loop — match straight, bias, and cross grain on the sketchbook so every cut stays clean and waste-free.
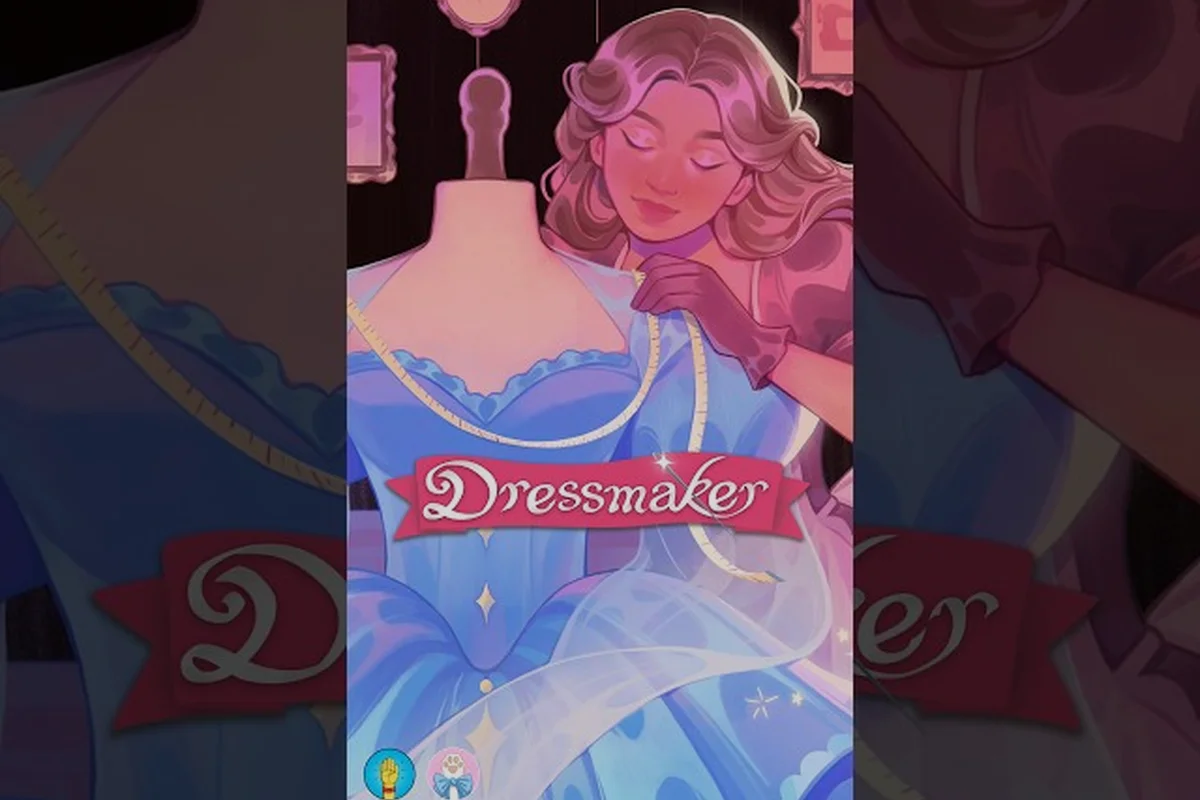
Dressmaker Neckline Patterns: Shapes, Difficulty & Fitting Tips
Master every Dressmaker neckline pattern from scoop to halter — learn each shape's difficulty, how it drapes on the mannequin, and which fabrics frame it best.