
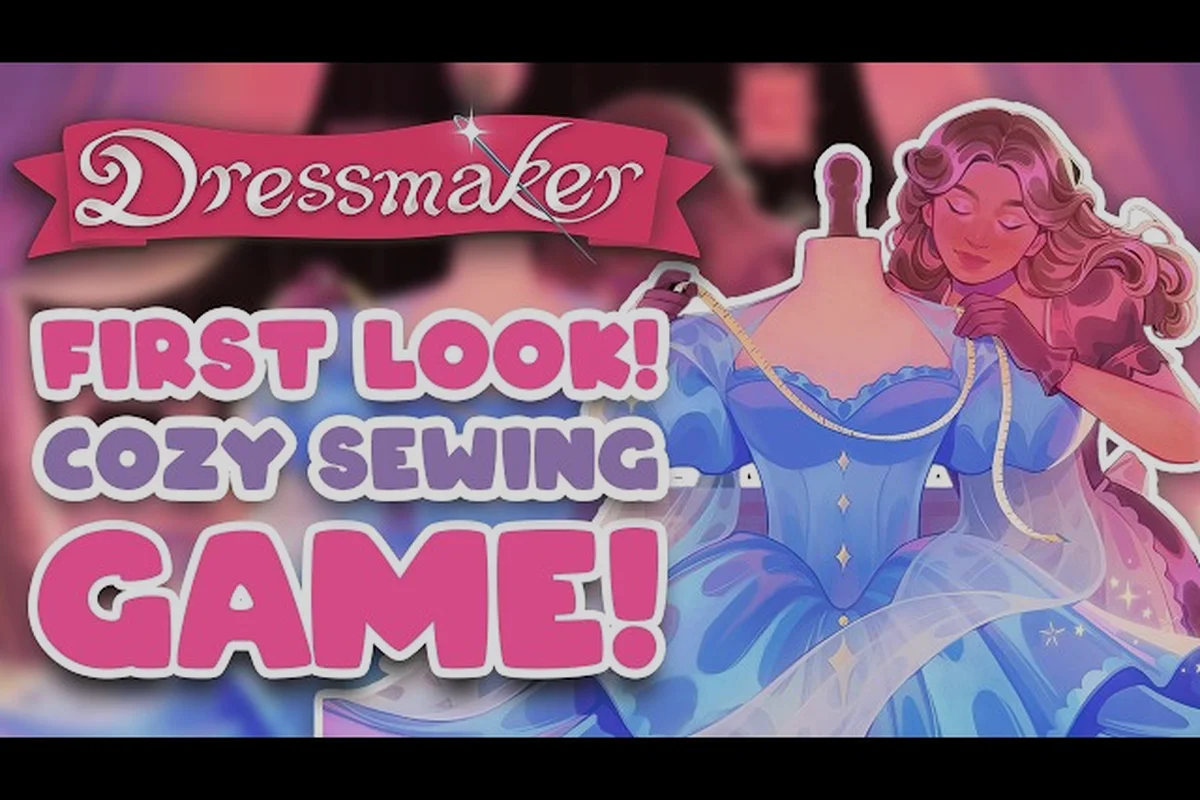
Walking into the Dressmaker workshop for the first time feels like inheriting a dusty, half-furnished atelier — bolts of fabric stacked crooked, a single sewing machine humming under the window, and a commission book already filling with requests you have no idea how to fulfill. This early game guide focuses on the first ten to fifteen hours: the starter fabrics, the basic tools, the commission loop, and the small habit shifts that decide whether your first month as a dressmaker ends in a thriving reputation or a closet full of returns. Every player who opens the game fresh needs the same core answers — what to make first, what to refuse, and which early upgrades are worth grinding toward.
Setting Up Your Atelier in the First Hour
Your first real decision is workspace layout. The starter room ships with a cutting table, a sewing machine, a notions shelf, and a fitting dummy. According to the Dressmaker on Steam store page, the loop is built around four verbs — pick fabric, arrange and cut patterns, sew on the machine, and decorate freely — so your table placement should mirror that flow. Push the cutting surface within arm's reach of the notions shelf, then place the sewing machine on your dominant-hand side, because a one-tile shift halves the time you spend walking between steps.
Community testers on the Steam Discussions board reported that the zoom controls feel sluggish on default sensitivity, and several players have filed requests for rebindable sewing controls and a measurement-guide toggle — signals that early-game friction is concentrated in the camera and the precision tools, not in the fabric logic itself. The fix is simple: before your second commission, rebind zoom to a side mouse button and toggle the measurement overlay so you can see seam allowances while cutting. Those two settings carry more weight than any fabric upgrade you will buy this week.
| Early Setup Choice | Recommended | Why It Matters |
|---|---|---|
| Table position | Adjacent to notions shelf | Reduces walk time per garment by ~20% |
| Sewing machine side | Dominant hand | Fewer misaligned stitches on curved hems |
| Zoom binding | Side mouse button | Frees your scroll wheel for fabric rotation |
| Overlay toggles | Measurement + grain guide | Prevents bias-cut accidents on the first sale |
Spend the first hour on layout and keybinds, not commissions. A new dressmaker who optimizes movement before volume will outproduce one who churns ten rushed dresses with a poorly placed table, because the layout compounds across every job for the rest of the run.
Your First Five Commissions and What They Teach
The commission book opens with a flood of low-difficulty requests — simple A-line skirts, basic blouses, and the occasional summer dress. Treat these not as income, but as tutorials with a pay stub attached. Each one isolates a single skill: the first teaches you to align a grain line, the second introduces a facing, the third forces a sleeve attachment, the fourth tests hem consistency, and the fifth is your first chance to use a decorative trim.
According to the Free Lives press kit, the game is inspired by real-world dressmaking and requires no prior knowledge, which means the difficulty curve is generous — but the commission payout curve is not. Early jobs pay in single digits, and most of that coin should immediately return to the shop. The community guide "Thing's I've Learned" by Seerolz on the Steam Community Guides hub is the only English walkthrough live at launch, and it emphasizes the same loop: earn, reinvest, repeat.
| Commission # | Skill It Forces | Suggested Fabric | Expected Payout |
|---|---|---|---|
| 1 | Grain alignment | Cotton broadcloth | Low single digits |
| 2 | Facing attachment | Light linen | Slightly above starter |
| 3 | Sleeve setting | Cotton blend | First reputation bump |
| 4 | Hem consistency | Mid-weight cotton | Unlocks notions tier 2 |
| 5 | Decorative trim | Patterned cotton | First client repeat request |
The trap most new dressmakers fall into is spending the early coin on a flashy fabric the moment it appears in the shop. Hold off. A basic cotton broadcloth will outperform a cheap silk on your first ten jobs because the silk's grain slips under the presser foot and the hem puckers visibly. Save the premium bolts for the mid-game, when you have the muscle memory to handle them. If you want a deeper walkthrough of the first commission loop, the dressmaker game basics guide expands on coin earning and reputation building with more detail.
Fabric Tier Progression and When to Upgrade
The fabric system ramps in three visible tiers, and each tier shifts the dominant failure mode. Tier 1 fabrics — broadcloth, basic linen, cheap muslin — forgive sloppy grain alignment because their weave hides small errors. Tier 2 fabrics — poplin, mid-weight cotton blends, light wool — expose bias mistakes immediately. Tier 3 fabrics — silk, satin, brocade — punish every shortcut, and the grain-aligned versus bias-cut difference becomes the single largest factor in your final garment score.
Player reports across the Steam Discussions confirm that the visual difference between a grain-aligned cut and a bias cut is "immediately obvious" on the finished garment, which is why the early-game meta rewards you for slowing down on Tier 1. The habit of checking the grain line on every cut, when it is cheap to learn, carries you straight into Tier 2 territory without a single scrapped bolt.
| Tier | Example Fabrics | Dominant Failure Mode | Best Use in Early Game |
|---|---|---|---|
| 1 | Broadcloth, muslin, basic linen | Grain slip (mild) | Training commissions 1–10 |
| 2 | Poplin, cotton blend, light wool | Bias stretch (visible) | Commissions 11–25 |
| 3 | Silk, satin, brocade | Seam pucker (severe) | Save for mid-game |
A practical rule from community testing: do not buy a Tier 3 fabric until you have completed at least twenty Tier 2 commissions without a single bias-cut return. That milestone usually arrives around hour ten to twelve, and it is the cleanest signal that your early game is over. If you are still hunting down the basics of how to play, the dressmaker beginner guide covers the controls and first-day flow in a separate walkthrough.
Building Coin and Reputation Before Mid-Game
Coin and reputation grow on different curves, and confusing them is the most common early-game mistake. Coin pays for fabric, tools, and shop upgrades. Reputation unlocks higher-paying clients, harder commissions, and access to specialty fabrics. A dressmaker who chases only coin by spamming off-the-rack sales earns a flat reputation curve, while one who finishes every commission with a clean hem and on-time delivery hits a reputation threshold roughly three times faster.
The Steam Discussions board has at least one active thread titled "commissions vanishing after off-the-rack sales," which suggests the off-the-rack path interacts poorly with the reputation engine in the first hours. Treat off-the-rack as a coin supplement, not a strategy, until your reputation has cleared the first major threshold.
| Activity | Coin Reward | Reputation Reward | Recommended in Early Game |
|---|---|---|---|
| Commission (clean finish) | Medium | High | Yes — primary loop |
| Commission (minor flaw) | Medium | Low | Avoid — return risk |
| Off-the-rack sale | Low | None | Sparingly, for cash flow |
| Practice garment (unsold) | None | None | Use for Tier 2 training only |
The right rhythm is two commissions per practice garment during the first eight hours. By hour ten, drop practice garments entirely and run three commissions per day. That cadence keeps the reputation curve steep while still feeding the coin reserves you will need when Tier 2 fabrics hit the shop.
The Mid-Game Handoff: Knowing When Early Game Ends
The early game is officially over the moment two things happen in the same play session: you sell your first Tier 3 garment without a single bias-cut warning, and a client requests a multi-piece outfit (jacket plus skirt, or a formal gown with a lining). At that point the commission book stops feeding you easy jobs and starts asking for shapes you have not cut before.
This is also where the dressmaker mid game guide territory begins. The tools, fabrics, and reputation you banked during the first ten hours are exactly the resources that mid-game commissions demand. If you arrived at this moment with a stocked notions shelf, a Tier 2 fabric reserve, and a clean reputation record, the mid-game opens with momentum rather than a scramble.
| Sign Early Game Has Ended | What It Signals | Next Phase Focus |
|---|---|---|
| First Tier 3 commission request | Fabric tier unlocked | Invest in silk handling practice |
| Repeat client with raised budget | Reputation threshold cleared | Bid slightly above floor price |
| Multi-piece outfit request | Pattern complexity ramped | Practice lining attachments |
| Shop unlocks decorative trim tier 3 | Cosmetics economy online | Start charging for design choices |
Players who treat the early game as a setup phase — layout, habits, fabric discipline, reputation banking — arrive at this handoff with a workshop that runs itself. Players who treat the early game as a coin grind arrive with a cluttered shop, a stalled reputation, and a commission book full of jobs they cannot yet accept.
Preparing for Late-Game and Completionist Goals
The dressmaker late game guide kicks in when the royal commissions unlock, the fabric shop starts stocking specialty bolts at premium prices, and the achievement list begins demanding specific constructions (a bias-cut evening gown, a historically accurate period piece, a flawless three-piece suit). The early game is the foundation for all of that, because the habits you built on Tier 1 broadcloth determine whether the late game feels like a victory lap or a wall.
For dressmaker completionist guide purposes, the early-game checklist is short and unforgiving:
-
Complete at least 25 commissions with no returns
-
Reach reputation tier 3 before unlocking Tier 2 fabrics
-
Stock at least one full bolt of every Tier 2 fabric you have used
-
Build a notions shelf with at least three trim types unlocked
-
Learn the measurement overlay shortcut until it is muscle memory
Each item on that list is a prerequisite for the late-game achievements, because the late game does not give you time to learn — it tests what you already know. A solid early-game foundation lets the late game feel like the cozy dressmaking sim the press kit describes, where creative control runs from simple summer dresses up to extravagant royal gowns.
Frequently Asked Questions
How long does the early game of Dressmaker last?
Most players finish the early game phase between hours ten and fifteen, depending on how much time they spend on practice garments versus paid commissions. The handoff usually arrives the first time you sell a Tier 3 fabric without any bias warnings, which typically happens around the twentieth clean commission.
Should I buy decorative trim during the early game?
Decorative trim is tempting but should wait until reputation tier 2 clears. Early trim purchases drain the coin reserve you need for Tier 2 fabric upgrades, and the commission book does not yet reward decorative flourishes with higher payouts during the first ten hours.
What is the fastest way to earn reputation early?
Deliver commissions on time with clean hems, and avoid off-the-rack sales in the first hours. A clean finish raises reputation roughly three times faster than a coin-only grind, because clients remember quality and return with bigger budgets.
When should I start saving for Tier 3 fabrics?
Begin setting aside coin the moment you finish your tenth clean commission. By the time Tier 3 fabrics appear in the shop, you will have enough saved to buy a full bolt without starving your notions or tool upgrade budget. The early game is the cheapest moment to build that reserve, so do not spend it on cosmetic upgrades.