
Decorations
Browse every Dressmaker decoration — buttons, bows, appliqué, and lace trims — with placement tips that turn a fitted garment into a personalized design.
Introduction
Decorations are the final layer that turns a well-cut garment into a design with personality. In Dressmaker, decoration happens after the mannequin fitting, when items can sit anywhere on the fabric surface rather than following pattern pieces. Buttons add structure and rhythm down plackets and cuffs; bows create focal points at waists and collars; appliqué shapes arrive pre-made for you to color and layer from the sketchbook; lace trims soften hems and edges with a delicate border. Accessories round out the set for customers who want extra sparkle or a thematic flourish. Because sketchbook coloring and fabric samples let you plan looks before cutting, decoration ideas can be drafted early and refined late on the mannequin. The palette supports styles from minimal to maximal, so reading each customer's taste and matching the occasion remains the core decorating skill.
Decoration Type Reference
| Decoration | Placement role | Design tip |
|---|---|---|
| Buttons | Rhythm and structure down plackets, cuffs, and fronts | Space closures evenly so the line reads as tailored intent rather than scattered dots |
| Bows | Focal accents at collars, waists, and gift-like wraps | Anchor busy prints with a single centered bow instead of competing clusters |
| Appliqué | Color storytelling across open panels and hems | Layer two or three pre-made shapes in sketchbook colors that echo the fabric sample |
| Lace trims | Edge softening along hems, necklines, and cuffs | Match lace weight to fabric weight so delicate trims do not overwhelm heavier wool |
Design Layers
Buttons
Classic closures that add rhythm and structure, ideal for plackets, cuffs, and tailored silhouettes that need a crisp repeating line.
Bows
Soft focal accents for collars, waists, and wrapped details, bows instantly signal gift-like charm and suit occasion-driven outfits.
Appliqué
Pre-made shapes colored and layered straight from the sketchbook, appliqué turns flat panels into small compositions of color storytelling.
Lace trims
Delicate edge finishes for hems, cuffs, and necklines, lace trims bring a romantic or vintage texture to otherwise simple cuts.
Core Mechanics
The decoration workflow in Dressmaker begins in the sketchbook, where coloring pages and fabric samples help you decide the look before any cloth is cut. Once a garment passes the sewing machine and reaches the mannequin fitting, free-form placement unlocks, and every decoration can sit anywhere on the surface, independent of pattern seams. Buttons, bows, appliqué pieces, lace trims, and accessories all draw from the same palette, then get positioned, layered, and recolored wherever the design needs weight. Appliqué deserves special attention because the shapes are pre-made yet fully customizable: you choose their colors in the sketchbook and stack them for depth during placement. Sketching decoration ideas early keeps cutting decisions and trim choices aligned with the final vision, while late-stage tweaks let you respond to how the garment reads on the mannequin.
Advantages
Decoration freedom is one of Dressmaker's strongest design pleasures. Placement is genuinely unrestricted, so a bow can sit at an unexpected angle and lace can wrap a sleeve instead of a hem, which rewards experimentation without punishing small mistakes. The sketchbook preview reduces guesswork because you can rehearse color combinations and appliqué stacks before committing to a cut. Since townsfolk gravitate toward particular fabrics, colors, and styles, a well-chosen decoration set visibly signals that you understood the brief, which supports reputation growth over time. The variety also scales with ambition: minimalists can stop at a clean row of buttons, while maximalists layer appliqué, trims, and accessories into dense compositions. Finally, decoration closes the loop from sketch to delivery, so finishing feels creative rather than administrative.
Challenges
The very openness that makes decorating enjoyable also creates friction. Free-form placement offers no snapping guides, so symmetrical button rows and evenly aligned trims depend on careful eyeballing, and rushed players may ship slightly crooked details. The palette can feel overwhelming on a first commission, especially when appliqué shapes arrive uncolored and need sketchbook decisions before they read clearly against the fabric. There is also a planning trap: players who skip the sketchbook and jump straight to cutting sometimes realize too late that their fabric sample fights the trim colors they wanted. Customers with restrained taste can make lavish decoration stacks work against the brief, so more options do not automatically mean better results. Without explicit guidance on layering order, newcomers may place accessories first and then struggle to adjust the pieces underneath.
Frequently Asked Questions
Where should I place decorations on a garment?+
How does appliqué differ from the other decoration types?+
Can I plan decorations before cutting the fabric?+
Quick Tips
Sketch decorations before the first cut. Open the sketchbook, color a draft of the design, and hold it against fabric samples so buttons, trims, and appliqué colors agree with the base cloth. A minute of planning saves a wasted commission later, and it gives you a clear reference the moment free-form placement unlocks on the mannequin.
Layer from large to small. Place appliqué shapes and lace borders first, then add bows, and finish with buttons and accessories on top. Working big to small keeps you from burying a focal piece under tiny details and makes symmetrical spacing easier to judge. If a panel looks crowded, remove the smallest item first — usually the composition recovers immediately without a full redesign.
Read the customer before decorating. Townsfolk gravitate toward particular fabrics, colors, and styles, so echo their taste instead of imposing your own favorite palette. A minimalist commission may only need a clean button line, while an occasion piece can carry bows, lace, and stacked appliqué. Matching decoration density to the brief is the fastest way to build reputation across repeated deliveries.
Featured
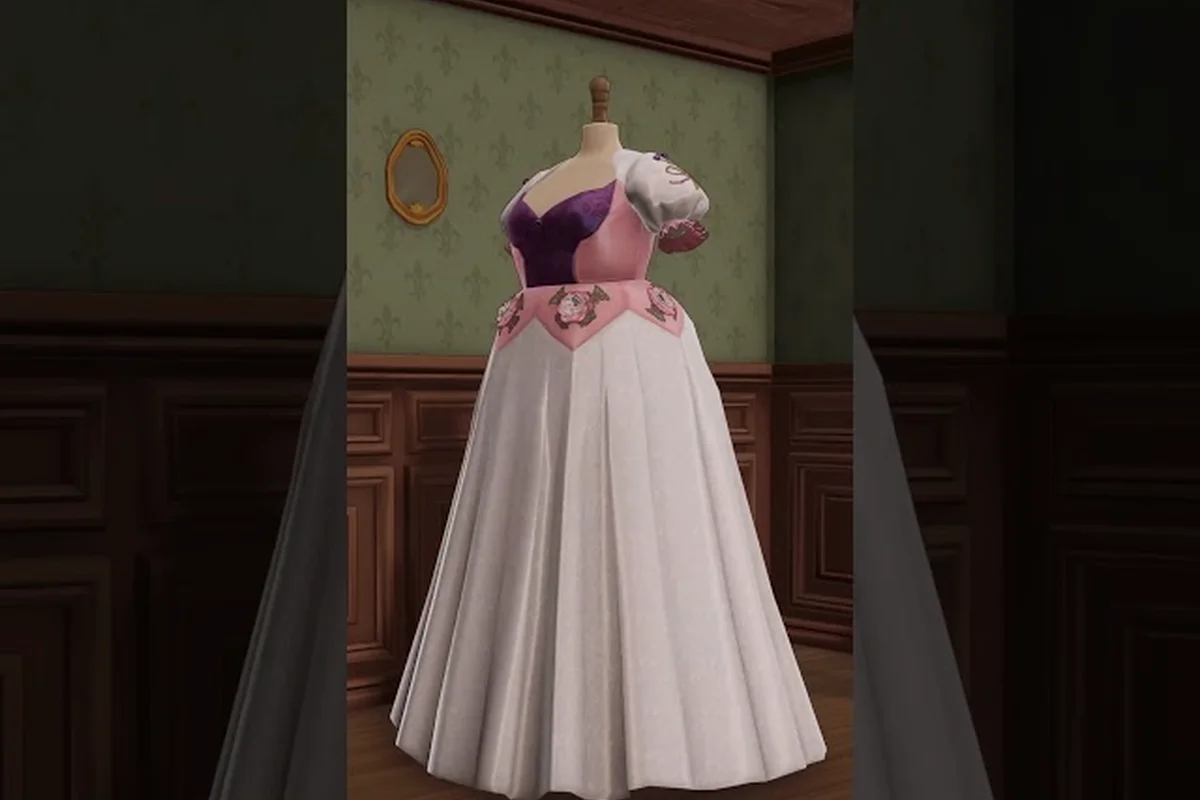
Dressmaker Fabric Layering Decoration: Unlocks, Budget & Style
Plan your Dressmaker fabric layering decoration budget — learn unlock order, avoid over-decorating, and balance minimal and bold styles for every commission.
Dressmaker Best Decoration Combos: Ribbons, Sequins & Embroidery
Stack the Dressmaker best decoration combos across ribbons, sequins, beadwork, and embroidery to find overlay pairings that make every gown pop on the mannequin.
Dressmaker Appliqué Shapes: Colors, Lace Edges & Bow Sizes
Browse Dressmaker appliqué shapes from hearts to florals, then match colors, lace edges, button styles, and bow sizes on any neckline or hem.
All Articles
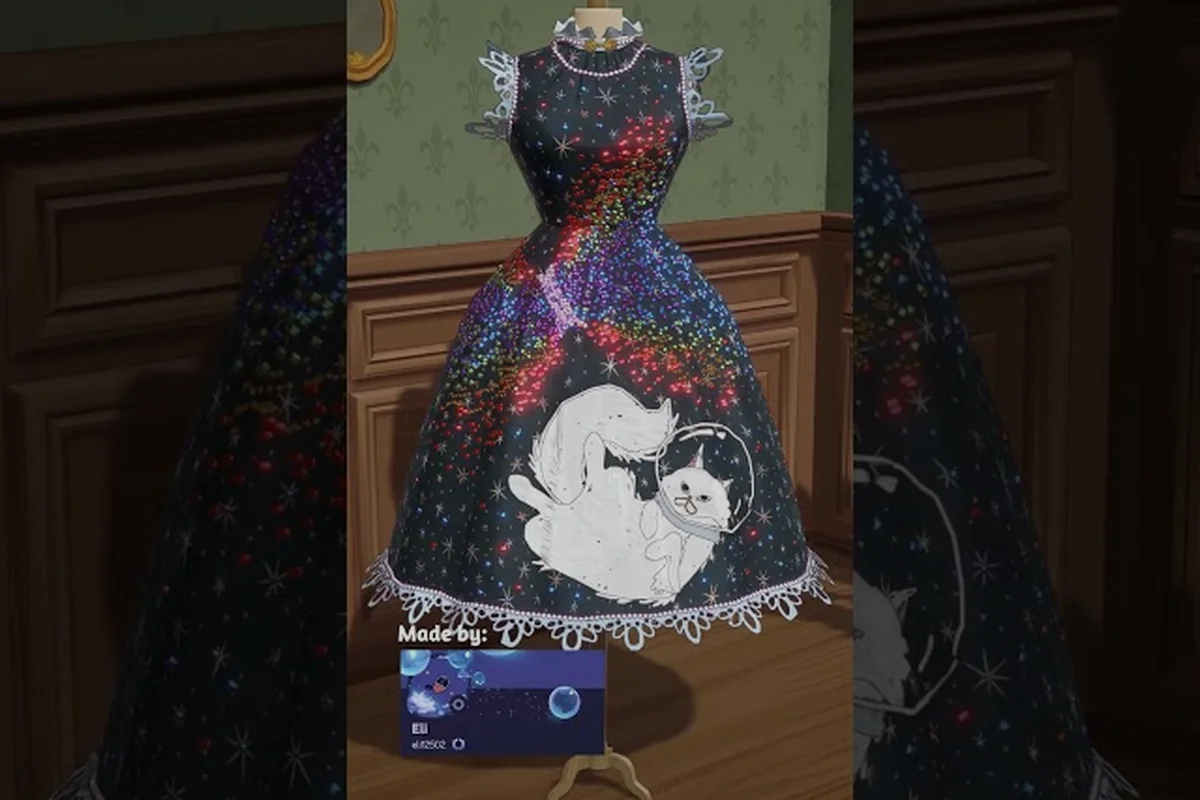
Dressmaker Decoration Placement: Sketchbook Layout & Design Ideas
Plan Dressmaker decoration placement on the sketchbook — drop appliqués, balance color palettes, and shape cute or formal designs before previewing on the mannequin.
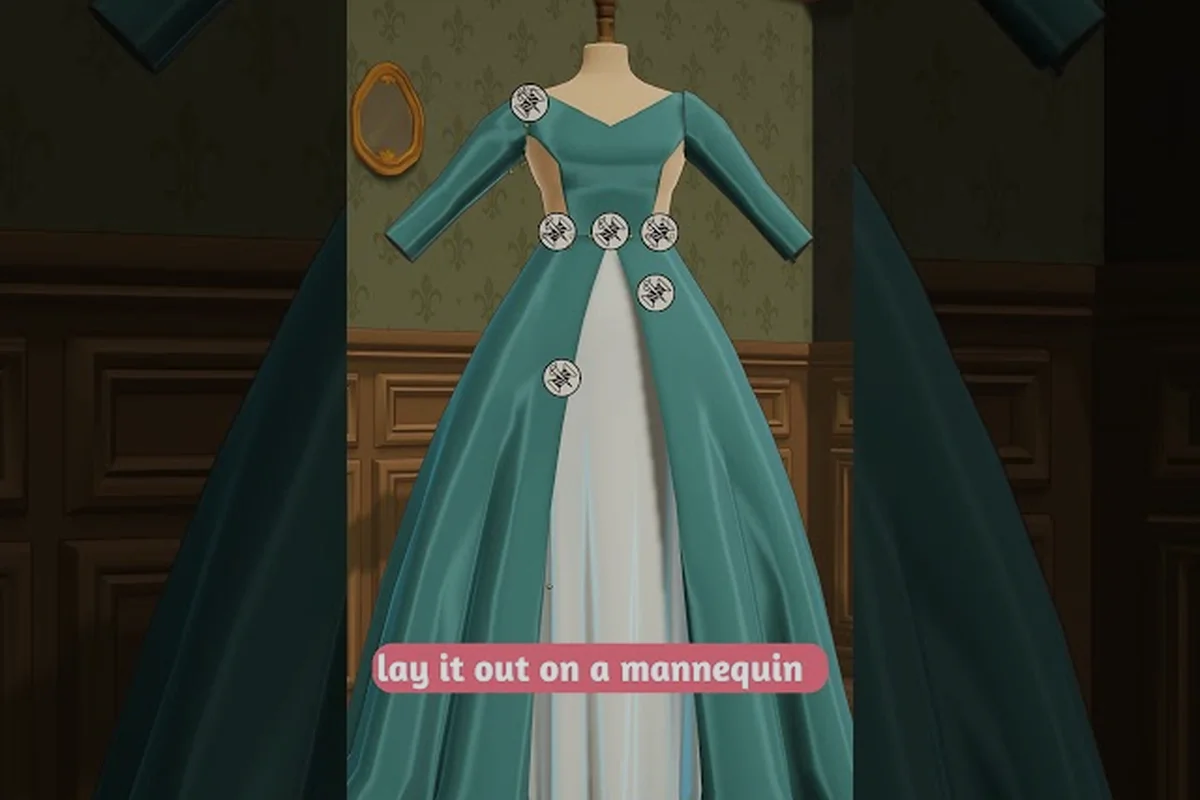
Dressmaker Decorations Guide: Buttons, Bows, Lace & Appliqué
Master every Dressmaker decorations option from buttons and bows to lace trims and appliqué — learn what each piece adds and how it shapes the finished gown.
Dressmaker Hem Decorations: Sleeves, Belts, Sashes & More
Finish every Dressmaker gown with hem, sleeve, belt, and sash decorations — explore floral and star accents plus jewelry that frame each design.
Dressmaker Decoration Layering Rules: Order & Aesthetic
Learn the Dressmaker decoration layering rules that keep trims and overlays stacking cleanly — get placement tips and aesthetic ideas for any outfit.