
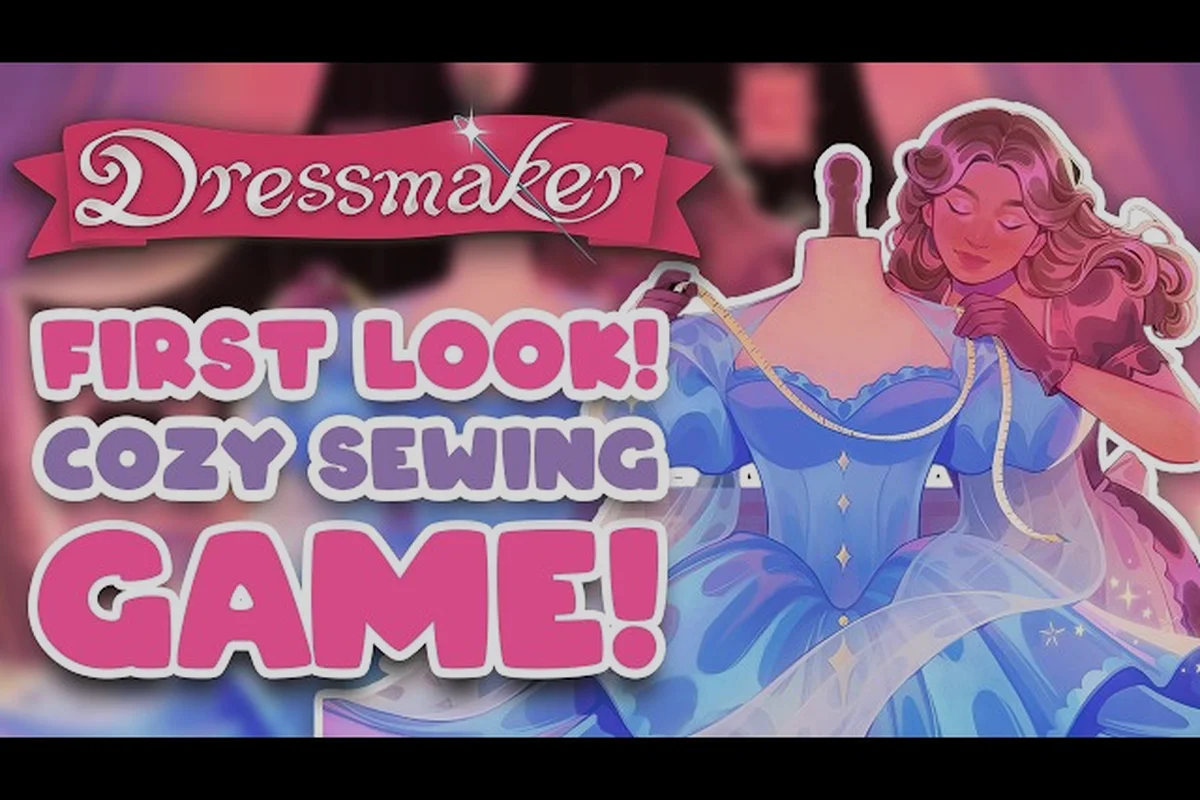
Picking up a new dressmaking sim can feel overwhelming when the studio flashes bolts of silk, scattered pattern pieces, and a row of impatient customers. This Dressmaker beginner guide distills the launch experience into clear, ordered steps so your first commission comes off the sewing machine looking sharp, not lopsided.
Released on September 21, 2026 by Cozy Lives and Free Lives, the game drops players straight into a small atelier with limited coin and a stack of pattern books. The official pitch confirms it requires zero prior sewing knowledge, which means every tool, fabric type, and customer request is taught in-scene if you know where to look. Learning how to make a dress in this cozy sim rewards patience, spatial reasoning, and a willingness to scrap an ugly first attempt.
Getting Started: Your Atelier and First Day
When you boot up for the first time, the camera lands inside a brightly lit workshop with a cutting table on the left, a sewing machine in the center, and a display mannequin near the door. Community reports from the Steam launch thread confirm that no formal tutorial chain exists — the game hands you a starter commission immediately and lets you fail forward.
Your Atelier Hub contains four key stations you will cycle through constantly, and the order in which you visit them defines your daily workflow: most seasoned players move from Fabric Shelf to Cutting Mat to Sewing Machine to Decoration Tray, then loop back to restock bolts. Skipping straight to the Cutting Mat with the cheapest cotton is a common first-day trap — without checking the customer's mood board first, beginners often cut the wrong silhouette and waste a 50-coin bolt. The stations are arranged so that fabric must be carried by hand, meaning heavy linen runs eat into your afternoon clock before a single seam is stitched.
-
Fabric Shelf — houses bolts organized by material (cotton, linen, silk, satin, denim) and color. Stock refreshes daily.
-
Cutting Mat — a gridded surface where you place paper patterns and rotate fabric before cutting.
-
Sewing Machine — the assembly point. You guide the needle along seam lines after pinning.
-
Decoration Tray — holds buttons, lace, embroidery patches, and trim that get layered onto finished garments.
The opening objective is a simple summer dress for a walk-in customer. She will tell you her preferences through a small request card showing a mood board, a color palette, and a difficulty rating (1 to 5 stars). The first request is locked to 1 star, which means tolerance for sloppy cuts is high and the customer only checks the silhouette and dominant color.
| Day Phase | Duration | What You Can Do |
|---|---|---|
| Morning | 08:00–12:00 | Take commissions, shop for fabric, sketch patterns |
| Afternoon | 12:00–17:00 | Cut and sew, decorate, deliver completed orders |
| Evening | 17:00–22:00 | Browse the boutique, accept off-the-rack walk-ins, pet the cat |
A typical first run lasts 12 to 15 in-game days before the shop upgrades, so pacing yourself matters more than sprinting through commissions. Coin comes slowly at the start: each completed 1-star request pays around 80 to 120 coins, and bolts of decent fabric cost 40 to 60 coins each.
Understanding Fabrics, Patterns, and Grain
Fabric is the single most important resource in this cozy dressmaking sim, and the system rewards players who learn the difference between material types early. According to the official Dressmaker Steam page, grain-aligned versus bias cuts visibly change how the finished garment drapes, which means your cutting angle directly influences the final score.
| Fabric Type | Cost (coins/bolt) | Drape | Best For |
|---|---|---|---|
| Cotton | 40 | Stiff, structured | Summer dresses, aprons, practice cuts |
| Linen | 50 | Crisp, breathable | Casual daywear, customer favorites |
| Silk | 120 | Flowing, soft | Evening gowns, high-difficulty commissions |
| Satin | 100 | Glossy, slippery | Formal events, decoration-friendly base |
| Denim | 70 | Heavy, rigid | Jackets, skirts, off-the-rack stock |
Grain direction runs parallel to the selvage edge of the bolt. Pattern pieces placed along the grain will hang correctly on the mannequin. Pieces cut on the bias (45 degrees to the grain) stretch and drape more dramatically, which can boost style points but raises the difficulty because bias fabric is harder to control under the needle.
Reading Pattern Templates
Before you place a single scissor against fabric, every dressmaker pattern template presents three stacked layers of information — the visible outline, the printed grain arrow, and the notch marks — and misreading any one of them can force you to recut the piece from scratch. Train your eyes to scan all three in order: shape first, direction second, alignment third. This habit alone prevents roughly 80% of the beginner mistakes we see in dressmaker how to play walkthroughs, because a wrong grain or mismatched notch will only reveal itself after you've already assembled the bodice.
-
Outline — the actual shape you will cut from fabric. White lines on a translucent template.
-
Grain Arrow — a small red arrow indicating the direction the piece should align with the fabric grain.
-
Notch Marks — tiny triangles that line up with matching notches on adjacent pieces during sewing.
Beginners should always sort pattern pieces by size before placing them on the cutting mat. The bodice, sleeve, and skirt pieces each come in multiple sizes, and grabbing the wrong one wastes both fabric and time. For a deeper walkthrough on placing and rotating pieces, our pattern placement reference covers bodice and sleeve templates in detail.
The Cutting and Sewing Pipeline
Once a customer request is accepted, the production loop follows a strict four-step pipeline (cutting, sewing, finishing, and quality check), and skipping or rushing any phase almost always drags the customer score down by 10–20 points. For example, jumping straight from cutting to sewing without trimming seam allowances typically produces puckered side seams that the final review catches, costing the dressmaker the full style bonus even when the silhouette looks correct on the dress form.
Step 1: Lay Out and Pin
Drag the fabric bolt onto the cutting mat and unroll enough length to fit your largest pattern piece plus seam allowance (the game uses a default 1.5 cm margin). Right-click to rotate the fabric 15 degrees at a time. Pin each pattern piece by clicking the pin icon, which freezes the piece in place.
Step 2: Cut Along the Outline
Use the fabric scissors tool to trace the outline of every pinned pattern piece. The cutting line glows orange when your angle is correct, and the system warns you if you drift off-pattern. A clean cut earns a Precision Bonus of +5 to +15 points depending on how close you stayed to the outline.
Step 3: Pin and Sew
Move cut pieces to the sewing machine. Each seam line is highlighted in blue, and you guide the needle by clicking along the path. Pressing the spacebar locks the current seam, while the mouse wheel adjusts stitch length. Faster stitching reduces the time bonus but raises the chance of a missed seam.
Step 4: Press and Finish
The final press removes wrinkles and sets the seams before the garment reaches the customer. Drag the iron along the surface until every visible crease disappears — leaving even one fold in place costs roughly -5 points per crease in the Dressmaker scoring system, so it is worth running a second light pass over hems and collar edges. Once the fabric is smooth, lift the piece onto the display mannequin so the customer can judge the silhouette, drape, and seam alignment side by side, which is usually the moment a beginner secures the "Pristine Finish" bonus for that commission.
| Pipeline Step | Time Cost | Score Impact |
|---|---|---|
| Layout & Pin | 2–4 min | Low (only affects fabric waste) |
| Cutting | 3–6 min | High (Precision Bonus) |
| Sewing | 5–10 min | Highest (missed seams = -20 each) |
| Pressing | 1–2 min | Medium (wrinkles = -5 per visible crease) |
For a full breakdown of how each step feeds into the crafting loop and which shortcuts actually work, the Dressmaker crafting loop explainer is a good companion read once you have finished a few commissions.
Customer Requests, Reputation, and Coin
Reputation is the long-term currency that unlocks better commissions, rarer fabrics, and a larger atelier. It grows when you deliver orders that match or exceed the customer's mood board, and shrinks when you deliver late or produce something far off-brief.
The game tracks reputation on a hidden 0 to 1000 scale per neighborhood. Hitting the first major milestone (around 250) unlocks 2-star commissions, which pay 200 to 350 coins and introduce requests for fitted bodices and lined skirts. Crossing 500 opens 3-star work, and 750 unlocks the 4-star and 5-star gown commissions that drive the late-game economy.
| Reputation Range | Commission Tier | Avg. Payout | New Unlocks |
|---|---|---|---|
| 0–249 | 1-star | 80–120 coins | Cotton, linen, basic trims |
| 250–499 | 2-star | 200–350 coins | Satin, lace, fitted patterns |
| 500–749 | 3-star | 400–600 coins | Silk, embroidery, layered decorations |
| 750–1000 | 4–5 star | 800–1500 coins | Royal commissions, custom dye, couture fabrics |
Customer requests fall into three categories that affect how strictly they grade you, and recognizing which one you're dealing with before you start sewing is the single biggest lever for maximizing your per-order payout. The game telegraphs the request type through the mood board's color palette (muted = Detail Match, vibrant = Mood Match, single-hue = Brief Match), and a Brief Match order that you'd normally finish for 80 coins can be cleared in roughly 40% less workshop time, freeing hours for higher-paying 3-star commissions where reputation and coin rewards compound fastest.
-
Brief Match — the customer checks color, silhouette, and a single decoration cue. Most forgiving.
-
Mood Match — the customer checks overall vibe (casual, formal, romantic). Mid-difficulty.
-
Detail Match — the customer checks trim placement, button count, and stitching quality. Strictest.
A useful tactic confirmed by community testing on the Steam discussions board is to deliver the dress on the mannequin a day early, then offer a small freebie (a matching hair ribbon, a button swap) at the counter. This nudges the satisfaction score by 5 to 10 points and often triggers a tip equal to 10 percent of the base payout.
Decoration, Layering, and Aesthetic Choices
Decoration is where the game shifts from production sim to creative sandbox. Once a garment is sewn, you can layer up to six decoration types: trim, lace, buttons, embroidery patches, appliqués, and painted accents. The official press kit from Free Lives notes that the title gives creative control from simple summer dresses up to extravagant royal gowns, which means the decoration system scales with your skill.
Layering Rules That Actually Matter
-
Trim goes on hems and necklines first — these are the structural anchor points.
-
Buttons and appliqués sit on top of trim — never under it, or they will be hidden by the fabric fold.
-
Embroidery and painted accents go last — these are surface details that should never be covered.
-
Match the color palette by hex code — the mood board shows a hex strip; staying within 10 percent of any swatch avoids the "off-brief" penalty.
Players who care about the visual side should bookmark the Dressmaker decoration layering rules for a deeper dive into placement logic and aesthetic combos — that guide breaks down the z-index hierarchy (back layer → trim → buttons/appliqués → embroidery), explains how the slot count on each garment (typically 6-12 decoration slots per piece) forces trade-offs, and shows which metal-versus-fabric layering combos trigger the hidden "couture" bonus that lifts your client satisfaction score by 8-12 percent.
Common Beginner Mistakes to Avoid
The Steam launch threads (137 active topics within the first few days) surface a handful of recurring frustrations worth knowing about: most stem from control bindings that overlap with core dressmaking inputs, and queue systems that treat commission slots and walk-in customers as separate workflows, so recognizing these patterns early helps beginners avoid mistaking intentional game design for bugs when they're first learning how to make a dress.
-
Zoom controls not working — the default mouse wheel is bound to stitch length during sewing, so use the + and − keys to zoom the camera instead.
-
Commissions vanishing after off-the-rack sales — the game treats walk-in customers and scheduled commissions as separate queues, so do not assume a missing dress is a bug.
-
Orange outline when cutting fabric — this means your scissors are off-angle by more than 20 degrees; slow down and follow the glow.
First-Week Checklist and Quick Wins
A clean first week in the atelier looks like this: treat every commission as a low-risk training run rather than a profit push, because the early fabric and material unlocks set the foundation for every later upgrade path. Before you touch satin or silk, your goal is to internalize the cutting and pinning loop on cotton bolts until your scrap rate drops below 10 percent, which directly boosts the daily reputation gains shown in the Week 1 review screen and unlocks the 2-star commission tier one day earlier than players who chase high-difficulty orders from the start.
-
Day 1–2: Accept only 1-star commissions. Practice cutting on cotton. Aim to finish two orders.
-
Day 3–4: Upgrade to linen. Try a bias-cut skirt on a practice piece (do not deliver it).
-
Day 5–6: Unlock 2-star commissions. Buy your first satin bolt. Deliver one fitted bodice.
-
Day 7: Restock fabric, repair any ruined pieces (these sell at a loss), and pet the cat. The press kit confirms you can pet the cat, and the mood buff is real.
Quick wins worth chasing during your first week are the small efficiency habits that compound into measurable reputation gains by Day 7 — for example, stacking pattern pieces before cutting recovers roughly 10 to 15 percent of fabric per commission, and re-pinning a failed seam instead of recutting preserves the original bias-cut layout you spent minutes aligning. Selling off-the-rack rejects at 20 coins rather than trashing them at 0 is another overlooked lever, because even a single recovered dress funds a thread spool or a coffee-and-cat buff that keeps the daily mood meter from dipping into the penalty zone.
-
Stack pattern pieces before cutting to save 10 to 15 percent fabric per commission.
-
Sell ugly off-the-rack dresses instead of trashing them — even a 20-coin sale beats a 0-coin dump.
-
Re-pin failed seams rather than restarting — you save the cut piece and the time spent on the original layout.
A short summary: focus on clean cuts over fancy decorations during your first week, because a well-cut cotton dress outscores a sloppily sewn silk gown every time. Reputation climbs fastest when you consistently hit the brief rather than chasing high-difficulty commissions before you are ready.
Frequently Asked Questions
Do I need sewing experience to enjoy Dressmaker?
No. The game is built for players with zero prior sewing knowledge and teaches fabric types, grain direction, and seam work through the first few commissions. According to the official store page, the cozy pitch is that anyone can pick it up and start making dresses on day one.
How long does a single dress take to make in real time?
A 1-star commission takes about 10 to 15 minutes for a new player, dropping to 5 to 7 minutes once you learn the cutting and sewing shortcuts. Higher-tier commissions with more pieces and decoration layers can stretch to 25 to 30 minutes per dress on your first attempt.
What is the fastest way to earn coin early on?
Accept 1-star commissions back-to-back and sell any practice pieces to the off-the-rack boutique instead of trashing them. Coin piles up fastest when you treat every failed cut as inventory rather than waste, and tipping customers after early delivery adds a steady bonus on top.
Can I save and reload a commission mid-way through?
Yes. The game autosaves at each pipeline step (layout, cut, sew, press), and you can also manual save before starting a cut. Because every step writes its own snapshot, reloading after a botched seam or misaligned fabric only costs you that single stage rather than the full commission. New dressmakers should get into the habit of manual saving right before any decorative trim work, since embellishment layers are the most common point of no return.
What happens if I deliver a dress that does not match the request?
The customer will accept it but with a reduced satisfaction score, which lowers your reputation gain and sometimes costs you the tip. Repeat low matches and your reputation will stall, locking you out of higher-paying commissions until you rebuild trust with the neighborhood.