
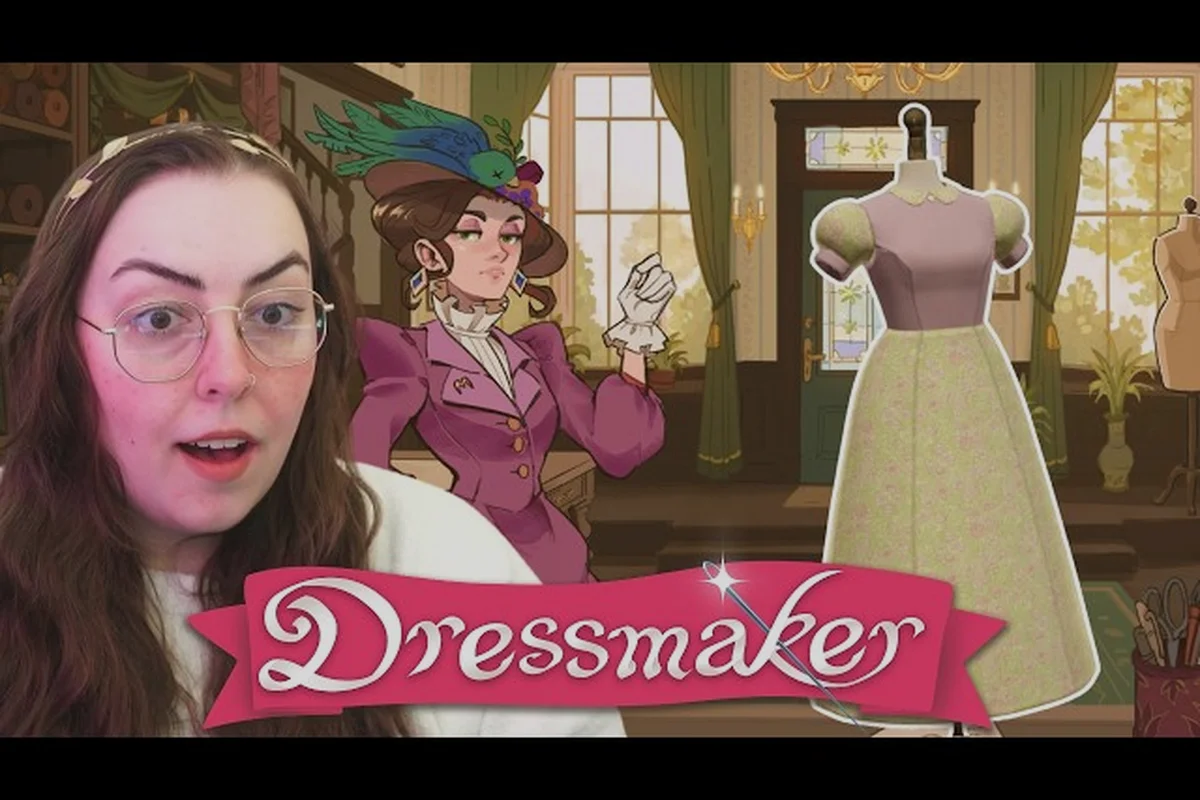
Running a successful boutique in Dressmaker depends on a steady chain of shop upgrades, and the difference between a cramped storefront and a fully expanded atelier comes down to knowing which Dressmaker shop unlocks arrive in which order. This guide breaks down the progression of shop expansion, how display slots fill with rotating stock, and which upgrades actually move the needle on your earnings breakdown so you can plan each purchase instead of guessing at the register.
Understanding the Shop Unlock Progression
Dressmaker's shop unlocks follow a layered progression that mirrors the broader dressmaking loop — design, sew, display, sell. According to the official Dressmaker Steam page, the core gameplay walks through sketching, cutting, sewing, and then either fulfilling a commission or placing finished designs in the shop window for walk-in customers. The shop itself is the endpoint of that loop, and it expands in stages tied to how much you produce, how many fabrics you unlock, and how much reputation you build with the townsfolk.
The unlock system rewards consistency over speed. Early on, the storefront starts small with just a few mannequins, a single register, and a limited display area. As you fulfill commissions and complete off-the-rack sales, you accumulate the currency and reputation needed to trigger the next tier of upgrades. Community reports from launch-day players on the Dressmaker Steam Community hub confirm that the shop expansion cadence is tied to a mix of cash flow and story progression rather than a single flat milestone.
The Three Unlock Pillars
There are three core pillars behind every Dressmaker shop expansion: Display Slots (the mannequins and window stands that hold your finished pieces for walk-in sales), Shop Fixtures (counters, seating, lighting, and decorative items that influence customer satisfaction), and Stock Rotation (the system that automatically cycles mannequins to keep the storefront visually fresh). Each pillar has its own upgrade track, and they interact — adding more display slots without improving stock rotation means mannequins stay stale longer, and upgrading fixtures without enough display slots leaves premium improvements invisible to customers.
| Pillar | What It Unlocks | Primary Effect | Cost Tier |
|---|---|---|---|
| Display Slots | Additional mannequins, window stands, and wall mounts | More concurrent off-the-rack sales | Medium |
| Shop Fixtures | Counters, seating, lighting, decor | Customer satisfaction, dwell time | Medium-High |
| Stock Rotation | Automatic mannequin cycling, themed displays | Refreshes storefront appeal, prevents stale stock | High |
How Unlocks Are Triggered
Unlocks in the shop segment are not handed out at fixed levels. Instead, they activate when a combination of conditions is met — typically a cash threshold, a reputation milestone, and sometimes a specific story event. For example, the second display slot often opens after your first few successful commission deliveries, while the themed stock rotation system tends to appear later once you've unlocked a wider range of fabrics and decoration types. The Free Lives press kit for Dressmaker confirms the game spans the range from "simple summer dresses up to extravagant royal gowns," which means the shop's later-stage displays need to accommodate both casual and high-end pieces.
Display Slot Expansion and Mannequin Management
Display slots are the most immediately visible piece of Dressmaker shop unlocks because they directly increase how many garments you can sell off the rack at any given time. Each new slot adds a mannequin, a window stand, or a wall-mounted display that holds a finished piece and exposes it to walk-in customers browsing the boutique. The relationship between display slots and earnings is roughly linear in the early game, but the ratio shifts as customer expectations rise.
Starting Configuration vs. Expanded Layout
When you first open the shop, you typically have access to two or three display positions — enough to showcase a couple of signature pieces but not enough to cover a full day's foot traffic. According to community testing, the starting configuration feels tight during the first commission cycle, and players who focus purely on commissions without stocking the window often see lower passive income. Expanding display slots changes that dynamic by letting the shop generate revenue even while you're sewing in the back room.
| Shop Stage | Approximate Display Slots | Daily Off-the-Rack Potential | Best Use |
|---|---|---|---|
| Starter Boutique | 2-3 slots | Low — supplementary income | Signature pieces only |
| Mid-Tier Expansion | 5-7 slots | Moderate — steady stream | Mix of casual and themed designs |
| Full Atelier | 8-12 slots | High — major revenue channel | Rotate by season, fabric, and occasion |
Slot Placement and Customer Flow
Not every display slot is equal. Window-facing slots attract the most attention from passersby, while interior mannequins serve customers who already entered the shop. The Dressmaker shop guide breaks down how window positioning influences which customer types walk in, and the same logic applies here — placing your highest-priced silk and velvet pieces in the window draws the clientele most likely to pay premium prices. Interior slots work better for everyday cotton and linen designs that move in higher volume.
Players have also reported that grouping display slots by color or fabric type creates a "collection" effect that boosts satisfaction. This isn't confirmed by an in-game tooltip, but community feedback on the Steam discussions suggests customers linger longer in sections that feel curated. The practical takeaway is to treat display slots as a merchandising tool, not just inventory space.
Rotating Stock Mechanics and Themed Displays
Rotating stock is the system that keeps your display slots from going stale. Without rotation, mannequins hold the same piece indefinitely, and customer interest in the shop window drops over time. With rotation enabled — a later Dressmaker shop unlock — the system automatically swaps pieces between your wardrobe inventory and your display slots based on themes, seasons, or fabric categories.
How Rotating Stock Works
Once unlocked, rotating stock lets you assign tags to each finished garment — fabric type, occasion, color family, formality — and then designate which tags should appear in the storefront on any given day. The shop cycles through your tagged inventory to keep the window fresh. This is where the Dressmaker shop best practices around tagging become critical: garments without tags sit in the back room indefinitely, while well-tagged pieces circulate regularly.
| Tag Category | Example Tags | Effect on Rotation |
|---|---|---|
| Fabric | Cotton, Linen, Wool, Silk, Velvet | Groups pieces by material appeal |
| Occasion | Casual, Formal, Royal, Seasonal | Matches stock to current events |
| Color | Warm tones, Cool tones, Neutrals | Creates visually cohesive window |
| Formality | Daywear, Eveningwear, Gowns | Filters for high- vs. low-end clientele |
Earning Impact of Themed Displays
Themed displays go beyond simple rotation. When you set a theme — "Spring Linens" or "Winter Velvets," for instance — the shop applies a satisfaction bonus to customers who match the theme. This bonus is small per sale, but compounded across a full day of foot traffic, it can add up to a noticeable bump in your earnings breakdown. Players experimenting with themed rotations on the Steam forums report a visible difference in register totals between random stock and curated themes.
The key best practice here is to align themes with the in-game calendar. When the town is preparing for a festival or formal event, stocking the window with occasion-appropriate pieces captures the surge in customer demand. Stocking wool gowns in summer — even with a theme — wastes the rotation slot because the customer base isn't browsing for that category.
Earnings Breakdown: Which Upgrades Pay Off Most
Not all Dressmaker shop unlocks contribute equally to your bottom line. The earnings breakdown varies significantly depending on whether you invest in display capacity, fixture quality, or rotation infrastructure first. Community data and player-reported figures suggest a clear hierarchy in return on investment.
Revenue Contribution by Upgrade Type
| Upgrade Focus | Earnings Impact (Short-Term) | Earnings Impact (Long-Term) | Best For |
|---|---|---|---|
| Extra Display Slots | High — immediate new sales channel | Medium — plateaus as slots fill | Early game cash flow |
| Premium Fixtures | Low — indirect via satisfaction | High — boosts per-sale value | Mid-to-late game scaling |
| Rotating Stock System | Medium — refreshes stale displays | High — prevents revenue decay | After 6+ display slots |
| Themed Display Unlocks | Low initially | Very High — maximizes per-customer value | Late game optimization |
The short-term-vs-long-term distinction matters because new players often dump early earnings into fixtures for aesthetic reasons, when display slots would have generated more revenue in the same period. Conversely, experienced players who've already maxed display capacity find that fixture upgrades and rotation systems deliver better marginal returns.
Cash Flow Timing
The Dressmaker earnings breakdown also depends on when you invest. Display slots pay back quickly because each new slot starts generating sales the same day it's installed. Fixtures take longer to recoup their cost because they boost existing sales rather than creating new ones. The rotation system sits in between — it prevents the gradual revenue decay that sets in when mannequins go stale, so its value is measured in "revenue preserved" rather than "revenue added."
If you're working with limited funds, the practical priority order is: Display Slots first (immediate sales), Rotation System second (prevents decay on your existing slots), and Premium Fixtures third (maximizes the value of every sale that does happen). This order also matches the natural progression most community-tested playthroughs follow.
Best Practices for Shop Expansion Order
The most common mistake new shop owners make is buying upgrades in the order they're offered rather than the order that maximizes return. Dressmaker shop best practices — based on player reports and the mechanics confirmed by the official store page — point to a more deliberate sequence.
The Recommended Expansion Path
The Dressmaker sell pre-made dresses guide covers the off-the-rack income side in detail, but the expansion path that supports it follows a clear rhythm. Start by unlocking your first wave of display slots, then push for the rotating stock system as soon as it's available, and only then invest in premium fixtures. This sequencing ensures that every dollar spent on aesthetics is backed by a storefront large enough and fresh enough to actually convert that investment into sales.
| Priority | Upgrade | Reason |
|---|---|---|
| 1st | Display Slot Expansion (first 4-5 slots) | Creates the sales floor capacity needed for passive income |
| 2nd | Stock Rotation System | Keeps existing slots productive instead of going stale |
| 3rd | Themed Display Unlocks | Adds per-customer value to the rotation you already have |
| 4th | Premium Fixtures (lighting, seating, counters) | Polishes the experience after the core sales engine is built |
| 5th | Final Display Slots (toward full atelier) | Extends capacity once fixtures can support it |
Common Pitfalls to Avoid
Players on the Steam community discussions have flagged a few recurring mistakes. One is investing heavily in fixtures before having enough finished garments to fill the display slots — the shop looks great but sells little. Another is ignoring the tagging system once rotating stock is unlocked, which leaves half your wardrobe stuck in storage while the same three pieces cycle through the window. A third is expanding into silk and velvet production — covered in the Dressmaker best fabric breakdown — before the shop can properly merchandise those high-end materials.
The broader lesson is that Dressmaker shop unlocks are not independent purchases. They form a system where display slots, rotation, fixtures, and fabric access all reinforce each other, and the order in which you acquire them shapes how much each subsequent upgrade is worth.
Frequently Asked Questions
What is the first Dressmaker shop unlock I should buy?
The first priority should be expanding your display slots, because each new mannequin or window stand immediately creates an additional sales channel. Fixtures and rotation systems are more valuable once you have at least four to five display positions working at once.
How many display slots can the shop have at maximum?
According to community testing, a fully expanded Dressmaker atelier can hold roughly 8 to 12 display positions across mannequins, window stands, and wall mounts. The exact ceiling may vary with future updates, so treat the upper end as approximate rather than fixed.
Does rotating stock actually increase earnings?
Yes, but indirectly. Without rotation, mannequins holding the same garment for days cause customer interest to drop, which gradually reduces off-the-rack sales. Rotating stock prevents that decay and, when combined with themed displays, can meaningfully boost per-customer spending.
Which fabric tier earns the most in the shop window?
Silk and velvet pieces command the highest per-sale prices, but they also require premium display placement and themed rotation to attract the right clientele. Cotton and linen move in higher volume at lower margins, so the best fabric tier depends on whether your shop is optimized for volume or value.
Can I unlock shop upgrades without completing story commissions?
Most Dressmaker shop unlocks are tied to a mix of cash flow, reputation, and progression milestones rather than specific commission completions. Fulfilling commissions accelerates reputation gain, which speeds up unlock availability, but the system is not strictly gated on story completion.