
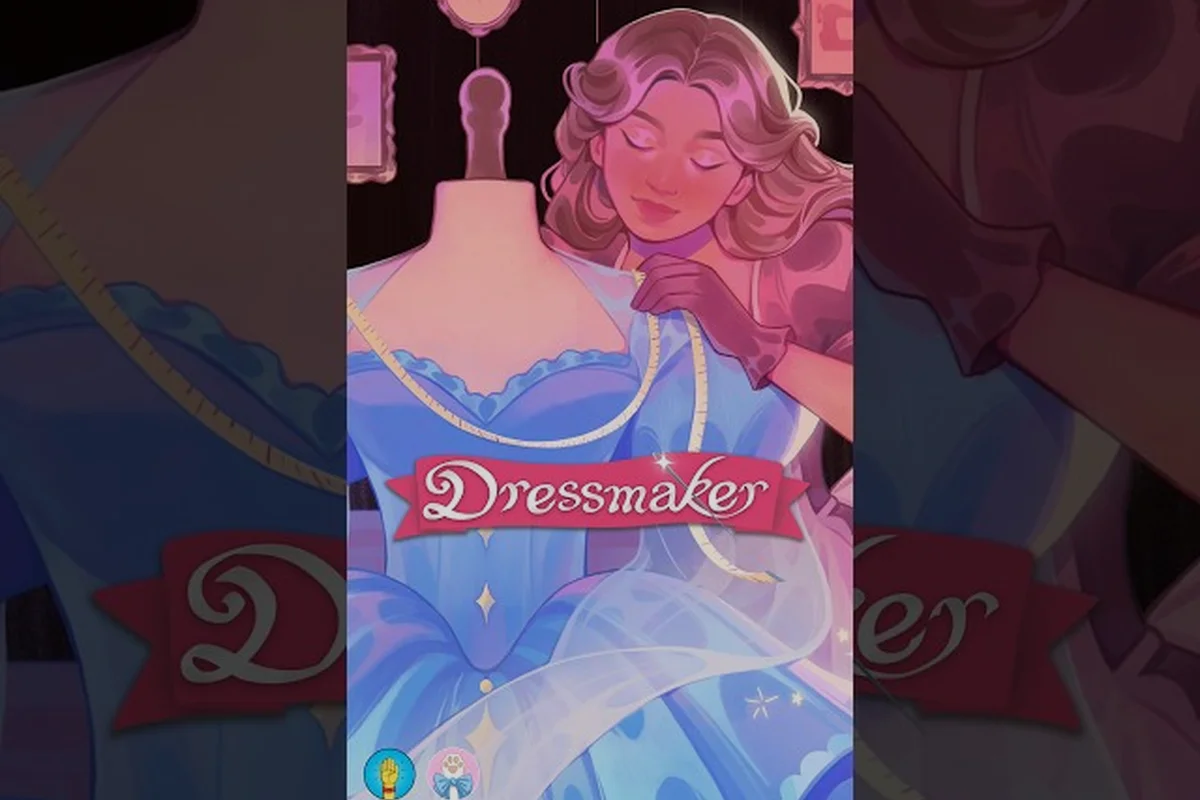
Knowing the Dressmaker decoration layering rules is the difference between a finished gown that looks intentional and one where trims clip into appliqués like a wardrobe malfunction. According to the Dressmaker on Steam page, the decorating step is fully freeform — you can stack buttons, bows, appliqués and lace trims wherever you like on the silhouette — but freeform does not mean orderless. The way the renderer stacks those decorative planes, and the order you apply them in the sketchbook, quietly decides whether a piece reads as elegant, busy, or broken.
This guide walks through the order the decoration system actually uses, the placement habits that make trims sit flush against the body of the dress, and the aesthetic decisions that turn a basic cotton daywear into something that survives the shop window. If you have ever wondered why a bow suddenly disappears behind a ruffle, or why two trims refuse to sit on the same hem, the answer almost always lives in the layering order.
How the Decoration Render Stack Works in Dressmaker
The dressing stage in Dressmaker treats the mannequin like a stack of transparent layers. Every time you drop a button, bow, appliqué, or lace trim onto the silhouette, the engine files that object into one of those layers based on its category and your placement order. If you understand the stack, you can predict which piece will sit on top before you even click.
The Four Default Render Layers
There is no on-screen layer panel, so most players only learn the stack by accident. Community testing on the Steam Community discussions and the Free Lives press kit page confirms the game draws decorations in this top-to-bottom order, which is also the visual order you see on the mannequin:
| Render Priority | Decoration Type | Sits On Top Of | Typical Visual Role |
|---|---|---|---|
| 1 (Top) | Buttons, small studs | Everything below | Focal punctuation, neckline closure |
| 2 | Bows, ribbons, sashes | Appliqué, lace | Statement accents |
| 3 | Appliqué shapes, patches | Lace, base fabric | Mid-layer motifs, motifs on skirt panels |
| 4 (Bottom) | Lace trims, hem edging | Garment body | Foundation silhouette frame |
The takeaway: anything you place last in the sketchbook of the same category rises to the top. If you want a bow to sit on top of a lace trim, you apply the lace first, then the bow. If you apply the bow first and the lace second, the lace will visually swallow the bow's tail.
Why Trims Disappear or Clip
Two specific bugs drive most of the layering frustration reported by players: Trim Swallow, where a hem-length lace overlaps a bow placed lower on the skirt and visually replaces it, and Z-Fight Flicker, where two decorations of the same priority sit on the same y-coordinate and the renderer cannot decide which one to draw. The community threads on the Steam Community hub for Dressmaker describe both behaviors within the first weeks of launch.
The fix is mechanical, not aesthetic. Lift or lower one piece by even a few pixels in the sketchbook, or change the order you apply them, and the visual conflict resolves. Dressmaker does not currently expose a manual z-index slider, so the sketchbook order is your only lever.
The Core Dressmaker Decoration Layering Rules
Once the render stack is clear, the actual rules of thumb fall out of it. These are the habits that experienced dressmakers in the community follow without thinking, and the ones that consistently produce clean-looking gowns on the mannequin preview.
Rule 1: Foundation First, Focal Last
Always lay your lace trims and hem edging down first, because they establish the silhouette frame. Buttons, bows, and appliqués go on top, with the most attention-grabbing piece placed last. The official Steam description calls this out implicitly when it describes how the loop ends with the decoration stage after sewing — the freeform part is not random, it is structured by category priority.
| Decoration Phase | What to Place | Order in Sketchbook | Visual Purpose |
|---|---|---|---|
| Phase 1 | Lace trims (hems, sleeves, neckline) | Apply first | Edge definition |
| Phase 2 | Appliqués (motifs, panels) | Apply second | Mid-layer pattern |
| Phase 3 | Bows and ribbons | Apply third | Statement accents |
| Phase 4 | Buttons and studs | Apply last | Focal punctuation |
A summer sundress in cotton rarely needs more than Phases 1 and 4, since its flat weave and short hem leave almost no empty surface for mid-layer motifs or ribbon work — a single hem lace plus two statement buttons is usually enough. A royal silk ballgown, by contrast, typically runs the full four-phase stack (lace edging, appliqués, bows, buttons) and then layers two to four additional overlay bows across the bodice specifically to break up the negative space between the appliqué panel and the waist seam, because silk's sheen amplifies any visible gap.
Rule 2: Anchor Trims to Seams, Not Empty Fabric
Dressmaker decoration placement looks best when trims hug the structural lines of the garment — the hem, the sleeve cuff, the waist seam, the neckline opening. A lace trim floating in the middle of a skirt panel will look like a glitch because it has nothing to anchor against. Anchored trims also survive the off-the-rack sale and shop window preview much better, because the eye expects decoration to follow construction lines.
| Anchor Point | Best Decoration Type | Why It Works |
|---|---|---|
| Hem | Lace trim, ribbon band | Reinforces the bottom edge of the silhouette |
| Waist seam | Thin belt, small bow, row of buttons | Defines the visual waistline |
| Neckline | Bow, brooch appliqué, button cluster | Frames the face |
| Sleeve cuff | Lace trim, small bow | Echoes the hem and balances the silhouette |
| Bodice center | Appliqué motif, single bow, single button | Creates a focal point |
Rule 3: Match Decoration Weight to Fabric Weight
This is the aesthetic rule that separates the polished outfits from the overworked ones. Cotton and linen want light trims — single-layer lace, small bows, no more than three buttons per closure. Wool can carry medium-weight appliqués and stacked trim. Silk and velvet can take the heaviest combinations: layered lace, multiple bows, and dense button rows without looking busy, because the fabric itself absorbs visual noise.
| Fabric | Recommended Decoration Density | Decoration Types That Work |
|---|---|---|
| Cotton | Low (1–3 pieces) | Light lace, single bow, small buttons |
| Linen | Low (1–3 pieces) | Hem lace, single appliqué, small buttons |
| Wool | Medium (3–5 pieces) | Appliqué panels, mid bows, button rows |
| Silk | High (5+ pieces) | Layered lace, stacked bows, dense trims |
| Velvet | High (5+ pieces) | Heavy lace, statement bows, appliqué motifs |
The fabric list is taken from the Dressmaker store page copy, which names all five fabrics in the official description. Pairing decoration weight to fabric weight is one of the most reliable dressmaker aesthetic guide shortcuts, because it exploits the way light interacts with each material in the render pass.
Layering Order Walkthrough: From Blank Mannequin to Finished Gown
This is the practical sequence most players settle into after a few commissions. It assumes you have already finished the pattern, cut, and sewing stages and are now in the decoration phase. If you want a refresher on the steps before this point, the Dressmaker beginner guide walks through the full making loop from sketch to mannequin.
Step-by-Step Decoration Pipeline
-
Preview the silhouette. Open the mannequin preview before placing anything. Identify the seams, hem, neckline, and waist. These are your anchor points.
-
Apply hem and edge lace first. Place all lace trims at the bottom of skirts, sleeve cuffs, and neckline openings. This frames the silhouette and locks in the "shape" of the gown.
-
Add appliqué motifs. Drop appliqués on the bodice center, skirt panels, or sleeves. Avoid placing them on top of lace from step 2; offset them slightly up or down.
-
Place bows and ribbons. Bows should sit on anchor points the lace and appliqués did not cover — usually the waist, the shoulder line, or a single bow at the back of the neck.
-
Finish with buttons and studs. Buttons close the visual loop. Cluster them at closures, scatter them as accents on plain panels, or use a single statement button as a brooch substitute.
-
Spin the mannequin. Rotate 360 degrees and check the back, sides, and any occlusion. If a decoration disappears behind another, it is a layering conflict — re-order by removing and re-applying in the correct phase.
Layering Errors That Wash Out a Design
The Steam Community launch threads surface the same three issues over and over: lace layered over a bow swallows the bow's tail, stacked appliqués z-fight into a single flickering surface, and lightweight cotton trim on velvet or silk looks visibly underdressed next to the fabric's sheen. None of these are rendering bugs or workshop import errors — every one of them traces back to a layering habit, specifically the order in which decoration slots are painted and whether heavier trims are scaled up for heavier base cloth. The table below maps each recurring mistake to the visual symptom it produces and the one-step fix that resolves it.
| Mistake | What Happens | Fix |
|---|---|---|
| Placing lace over a bow | The bow's tail vanishes | Remove the lace, re-apply the bow first |
| Stacking two bows on the same point | Z-fight flicker | Offset one bow by 2–3 pixels vertically |
| Adding buttons on top of dense appliqué | Buttons sink into the pattern | Move buttons to a clean panel area |
| Skipping hem lace on a formal gown | Silhouette looks unfinished | Always add at least one trim layer to anchor the hem |
| Using cotton-weight decoration on velvet | Outfit looks underdressed | Scale up trim count and weight for silk and velvet |
Outfit Ideas by Occasion: Putting the Layering Rules to Work
Decoration layering rules only matter when they produce outfits that customers actually want. The commission system in Dressmaker ties your outfit choices to a social calendar of occasions, and each occasion has a different layering recipe that experienced players use. The exact occasion names and the silhouette expectations around them come from the Dressmaker game page on Free Lives, which frames the game around satisfying townsfolk with the right fabric, cut, and decoration choices.
Casual Daywear Layering
For picnics, market trips, and daytime strolls, the goal is fresh and light. Cotton or linen fabric, a single hem lace, and one small bow or a row of three buttons at the neckline. The Dressmaker decorations guide covers the full button, bow, and appliqué catalog you can pull from for these low-density outfits.
| Occasion | Fabric | Decoration Stack | Why It Works |
|---|---|---|---|
| Market day | Cotton | Hem lace + 2 buttons | Casual, easy to read, not overworked |
| Picnic | Linen | Single bow at waist | Light, breezy silhouette |
| School day | Cotton | Collar lace + small bow | Reads as neat and tidy |
Formal and Royal Layering
For galas, royal commissions, and evening events, the layering rules invert — you want density, vertical anchor points, and statement focal pieces. Silk and velvet carry the visual weight, and the layering stack runs through all four phases. If you are still learning where the seams fall on formal silhouettes, the Dressmaker decoration placement guide has detailed placement notes for each bodice and skirt pattern.
| Occasion | Fabric | Decoration Stack | Focal Point |
|---|---|---|---|
| Evening gala | Silk | Hem lace + appliqué + waist bow + button row | Bow at the waist |
| Royal commission | Velvet | Layered lace + double appliqué + back bow + clustered buttons | Back bow visible from behind |
| Wedding guest | Silk | Lace hem + appliqué panel + small bow + buttons | Appliqué on bodice center |
| Theater night | Wool | Mid lace + appliqué + single bow | Bow on shoulder |
Layering Recipes by Customer Mood
Different townsfolk want different vibes, and the decoration stack is the cheapest way to tune that without changing fabric. Quiet or shy customers respond to minimal layering; bold or theatrical customers reward the heavy four-phase stack. Players have noted in the Steam discussions that matching decoration density to personality boosts satisfaction more reliably than upgrading fabric.
| Customer Archetype | Decoration Density | Stack Phases Used | Mood Signal |
|---|---|---|---|
| Shy, quiet | Low (1–2 pieces) | Phase 1 or 4 only | Restrained, gentle |
| Practical, working-class | Low–Medium | Phases 1 + 4 | Functional, neat |
| Romantic, dreamer | Medium | Phases 1 + 2 + 3 | Soft, layered |
| Bold, theatrical | High | All four phases | Statement, maximalist |
| Royal or upper-class | High | All four + overlay bows | Formal, extravagant |
Advanced Layering: Making Multiple Trims Cooperate
Once the basic stack feels natural, the next step is getting two trims of the same category to coexist on one piece without flickering or swallowing each other. This is the difference between a beginner outfit and a player who clearly understands the rules.
Stacking Two Lace Trims
Layering two lace trims is the classic test. The trick is to give each trim a different vertical band so they never share the same y-coordinate. The most common pattern is one trim along the hem and a second trim a few inches above, leaving a strip of plain fabric between them. This creates the illusion of a layered hem without triggering a render conflict.
| Pattern | Trim 1 Placement | Trim 2 Placement | Visual Effect |
|---|---|---|---|
| Double hem | Very bottom edge | Two inches above trim 1 | Tiered ruffle look |
| Hem + sleeve echo | Hem of skirt | Cuff of sleeve | Balanced silhouette |
| Neck + hem frame | Neckline opening | Hem of skirt | Classic frame |
Stacking Two Bows
Two bows on the same gown only work when they sit on different anchor points and face different directions. A waist bow plus a shoulder bow is safe. A waist bow plus another waist bow on top will flicker. When you need extra visual weight on the waist, swap the second bow for a ribbon sash, which falls into the same render layer as bows but occupies a wider, flatter footprint.
Stacking Appliqués
Appliqués stack cleanly when they are sized differently. A large motif on the bodice center plus a row of small appliqués along the waist seam reads as intentional, while two same-size appliqués on the same panel fight for the focal point. The Dressmaker fabric layering decoration guide goes deeper on the budget and unlock side of stacking more pieces in a single design.
Decoration Layering Checklist Before You Confirm a Commission
Before clicking confirm on a finished piece, run through this final pass. It is the same checklist experienced players use, and it catches the layering issues that cost the most customer satisfaction points. Think of it as a pre-flight scan across the seven decoration zones: hem, anchors, accent visibility, flicker, fabric weight, back view, and focal hierarchy. Commissioners routinely lose 2–3 satisfaction stars because a swallowtail accent clips into the skirt seam, or because the lace density chosen for a chiffon fabric overwhelms its drape. Spending 30 seconds to rotate the mannequin and cross-check each zone against your sketchbook turns those silent failures into visible fixes before the client ever sees the gown.
-
Hem line defined? At least one lace or trim along the bottom of every skirt panel.
-
Anchor points filled? Waist, neckline, and cuffs all carry at least one decoration, or are deliberately left bare.
-
No swallowed accents? Every bow and button you can see in the sketchbook is still visible on the mannequin preview.
-
No flicker? Spin the mannequin — if any decoration strobes, offset it by a few pixels.
-
Fabric weight matched? Decoration density matches the fabric you chose in step one.
-
Back view checked? Rotate to the back. Commissions often fail because the back is empty or has a visible z-fight.
-
One focal point? The eye should land on one piece first, then travel to the supporting decorations. If everything competes, the gown reads as busy.
Frequently Asked Questions
What order should decorations be applied in the sketchbook?
Apply lace trims first, then appliqués, then bows and ribbons, and finish with buttons and studs. The engine stacks decorations by category, and later placements in the same category rise to the top, so this order gives you the cleanest result and prevents trims from being swallowed.
Why does my bow disappear behind a lace trim?
The lace trim was applied after the bow, so it rendered on top. Remove the lace, re-apply the bow first, then re-place the lace above or below it. The four default render layers — buttons on top, then bows, then appliqués, then lace — are the underlying cause, and the only fix is re-ordering.
How many decorations are too many for a cotton dress?
For cotton and linen, keep it to 1–3 pieces — usually a hem lace plus a small bow or a row of two to three buttons. Cotton cannot carry the visual weight of a four-phase stack, and customers tend to read anything denser as overworked on a casual silhouette.
Do silk and velvet need different decoration stacks?
Yes. Silk absorbs decoration weight well and can take layered lace, multiple bows, and dense button rows without looking busy. Velvet handles similar density but the matte surface makes appliqués stand out more, so offset appliqués from lace more carefully to avoid the trim-swallow effect. Both fabrics are the right choice for royal and gala commissions where the full four-phase layering rules apply.
Can I fix layering mistakes after sewing, or do I have to start over?
You can fix layering mistakes during the decoration phase without re-sewing. Remove the conflicting decoration in the sketchbook, then re-apply it in the correct phase order. The sewing is unaffected because the decoration stage is the last step in the making loop, and re-entering the sketchbook does not damage the stitched panels.